MySQL5.7.3から8.1.0にバージョンアップする方法
2476 回閲覧されました
みなさんこんにちは、jonioです。
今回はMySQLのバージョンを5.7.3から8.0にバージョンアップする方法を解説します。
環境
MAMPでやりました、Dockerなど他の開発環境だとやり方が違うかもしれません。
MySQL8.1.0をインストール
Homebrewを使います。
下記のコマンドを叩くとインストールできるパッケージ一覧が表示されます。
mysql --version


//結果
==> Formulae
automysqlbackup        mysql-client           mysql-connector-c++    mysql@8.0
mysql ✔                mysql-client@5.7       mysql-search-replace   mysqltuner
mysql++                mysql-client@8.0       mysql@5.7              qt-mysql

==> Casks
mysql-connector-python         mysqlworkbench                 sqlpro-for-mysql
mysql-shell                    navicat-for-mysql
安定版をインストールしたいので下記のコマンドを叩きます。
brew info mysql


//結果
==> mysql: stable 8.1.0 (bottled)
Open source relational database management system
https://dev.mysql.com/doc/refman/8.0/en/
Conflicts with:
  mariadb (because mysql, mariadb, and percona install the same binaries)
  percona-server (because mysql, mariadb, and percona install the same binaries)
/usr/local/Cellar/mysql/8.1.0 (325 files, 306.2MB) *
  Poured from bottle using the formulae.brew.sh API on 2023-11-09 at 20:30:54
From: https://github.com/Homebrew/homebrew-core/blob/HEAD/Formula/m/mysql.rb
License: GPL-2.0-only with Universal-FOSS-exception-1.0
==> Dependencies
Build: bison ✘, cmake ✘, pkg-config ✔
Required: icu4c ✔, libevent ✔, libfido2 ✔, lz4 ✔, openssl@3 ✔, protobuf@21 ✔, zlib ✔, zstd ✔
==> Caveats
We've installed your MySQL database without a root password. To secure it run:
    mysql_secure_installation

MySQL is configured to only allow connections from localhost by default

To connect run:
    mysql -u root

To start mysql now and restart at login:
  brew services start mysql
Or, if you don't want/need a background service you can just run:
  /usr/local/opt/mysql/bin/mysqld_safe --datadir\=/usr/local/var/mysql
==> Analytics
install: 38,161 (30 days), 142,111 (90 days), 547,383 (365 days)
install-on-request: 38,038 (30 days), 141,667 (90 days), 545,253 (365 days)
build-error: 1,101 (30 days)
5行目よりバージョンは8.1.0が安定していると分かったのでそれをインストールします。
brew install mysql@8.1.0インストールできたかを確認します。
下記のコマンドを叩いてバージョンが表示されたらOKです。
mysql  --version


//結果
mysql  Ver 8.1.0 for macos13.3 on x86_64 (Homebrew)
MySQL8.1.0のrootユーザーのパスワード設定
バージョン8.1.0のrootユーザーの初期パスワードは「root」ではありません。
試しに下記のコマンドを叩いてMySQLに接続しようとすればエラーになります。
mysql -u root -pパスワードをrootに変更します。
まずパスワードなしでMySQLにアクセスします。
mysql -u rootデータベースのmysqlにアクセスします。
mysql > USE mysql;rootユーザーのパスワードをひとまず空にします。
mysql > UPDATE mysql.user SET authentication_string=null WHERE User='root';一旦「exit」でMySQLから抜けます。
そしてMySQLサーバーを起動します。
mysql.server startMySQLにアクセスします。
mysql -u root -pパスワードの入力を求められますが空の状態でEnterボタンを押すとMySQLに接続できます。
mysqlデータベースにアクセスします。
mysql > USE mysql;rootユーザーのパスワードをrootにします。
mysql > ALTER USER 'root'@'localhost' identified BY 'root';これでrootユーザーのパスワードがrootになりました。
MAMPの設定
MySQLサーバーを起動した状態(mysql.server startの状態)のまま作業します。
ちなみにサーバーを止める場合・再起動する場合は下記のコマンドになります。
//MySQLサーバーを止める
mysql.server stop

//MySQLサーバーを再起動
mysql.server restart
「Applications > MAMP > bin > phpMyAdmin5 > config.inc.php」を修正します。
$cfg['Servers'][$i]['host'] = '127.0.0.1'; // ←この行を修正する
$cfg['Servers'][$i]['port'] = '3306';
$cfg['Servers'][$i]['socket'] = '';
$cfg['Servers'][$i]['connect_type'] = 'tcp';
$cfg['Servers'][$i]['extension'] = 'mysql';
$cfg['Servers'][$i]['compress'] = FALSE;
$cfg['Servers'][$i]['auth_type'] = 'config';
$cfg['Servers'][$i]['user'] = 'root';
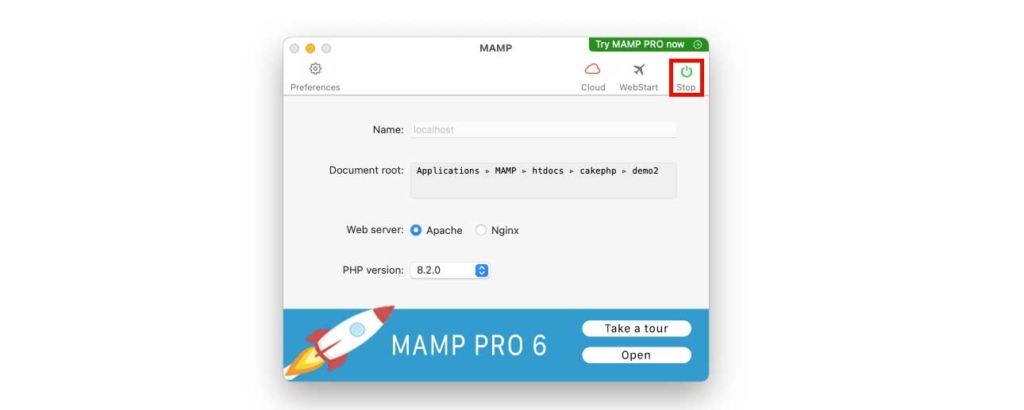
$cfg['Servers'][$i]['password'] = 'root'; そしてMAMPを再起動します。
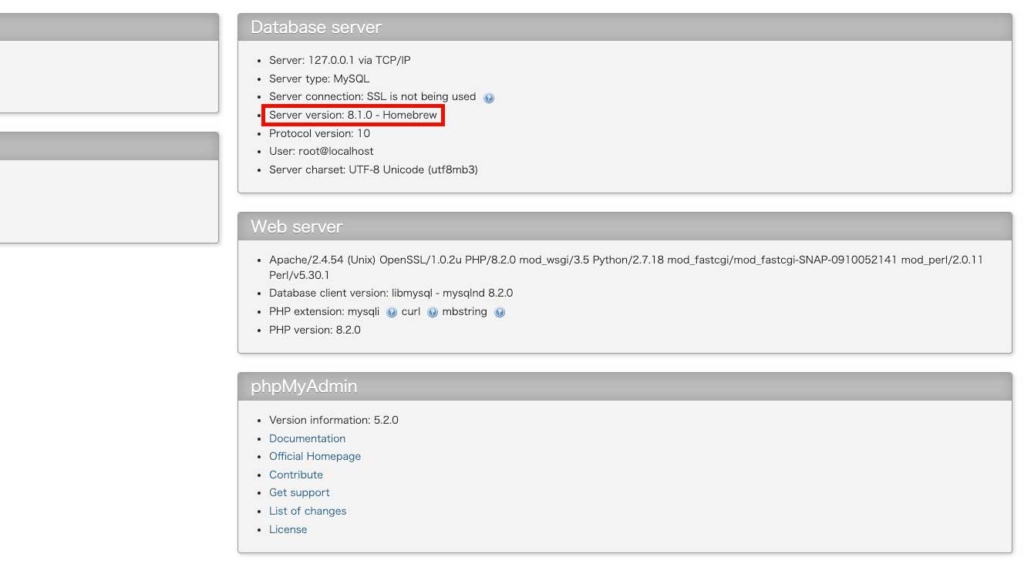
起動後phpMyAdminに入って下記の赤枠の表示になっていたらバージョンアップは成功です。
今回の実装のポイント
config.inc.phpに設定した「host」の項目です。
$cfg['Servers'][$i]['host'] = '127.0.0.1'; 「127.0.0.1」を「localhost」にすると実装時にエラーが出まくって解決できなくて異常に大変だったので127.0.0.1にしました。
注意点
MySQL8.1.0を起動する時は「mysql.server start」でMySQLサーバーを立ち上げた状態じゃないとMAMPのphpMyAdminにはアクセスできないので注意して下さい。