LaravelでInertiaとBreezeを使ってVue3を導入・連携する方法
4181 回閲覧されました
みなさんこんにちは、jonioです。
Laravelのバージョン8にVue.jsのバージョン3を導入したかったのですがInertia(イナーシャ)を使えば導入する事ができるというのを知りました。
Inertiaを知らなかったので何ができる物なのかを調べたのですがInertiaが何かとVue.jsのバージョン3を導入する方法と設定しないといけない内容を解説します。
またLaravelのデータベースの情報をVue.jsに渡す方法を調べた結果axiosを使った方がいいというのを知ったのですがVueのバージョン3からcomposition apiというのが登場してバージョン2までのoptions apiとは書き方が別物になりaxiosでvueにデータベースの情報を渡す為のコードが少し変わります。
この記事を書いているのが2023年の5月ですがネットの情報はoptions apiで書いている物がほとんどで相当調べてやっとの思いで実装できたので次同じ事をしないといけなくなった時の自分と方法が分からなくて苦しんでいる人の為に情報を残します。
なおログイン機能にBreezeを使います。
目次
Inertiaとは
公式サイトはここから見る事ができるのですが↓の記載があります。
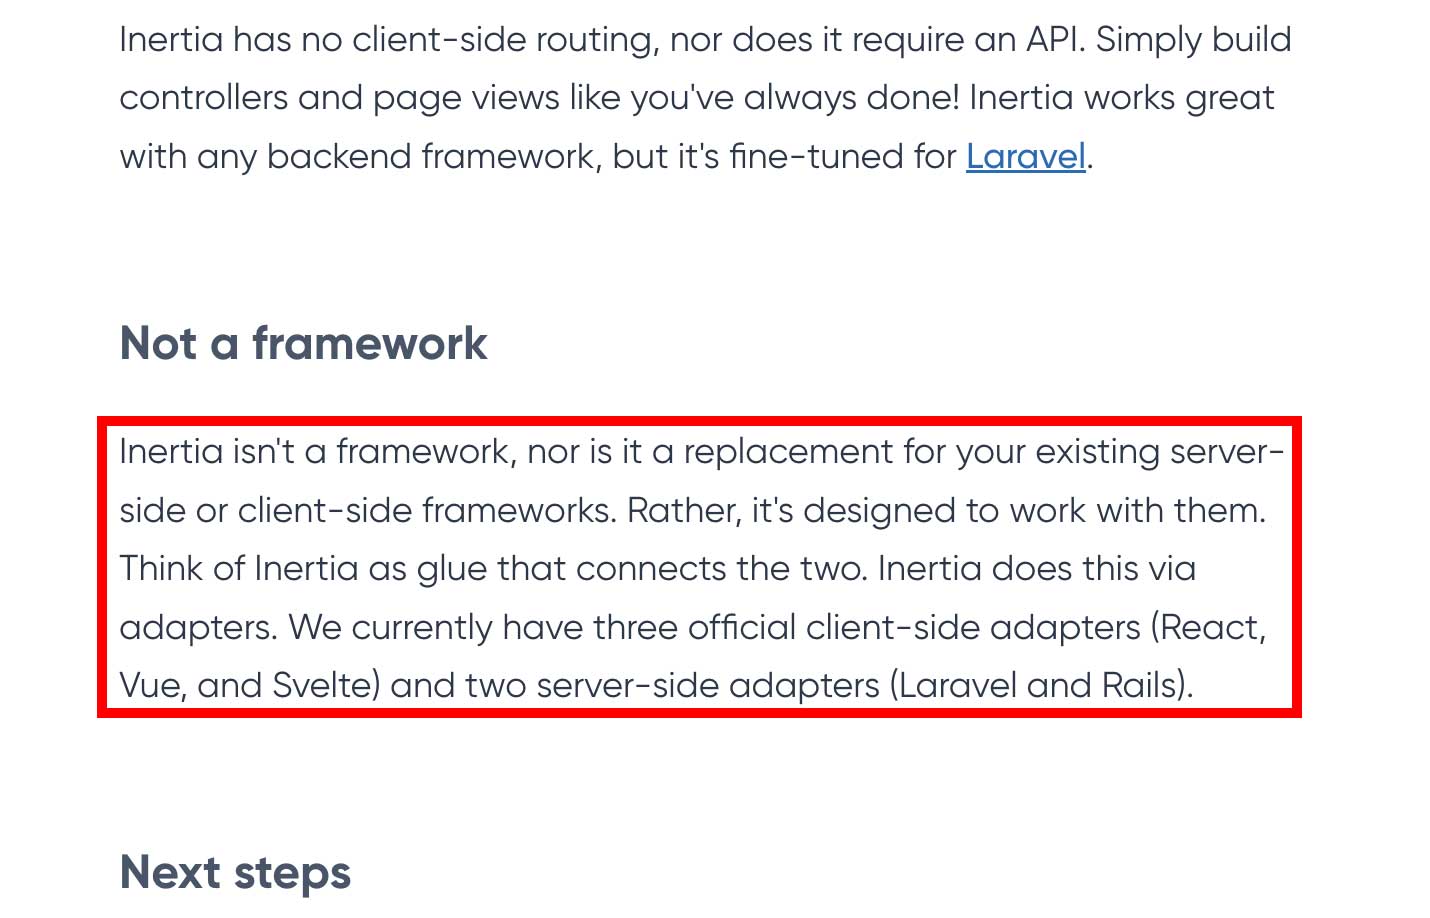
↑の赤枠の意味ですが「Inertiaはフレームワークではなくサーバーサイド・クライアントサイドのフレームワークに置き換わる物でもありません。むしろサーバーサイド・クライアントサイドが一緒に機能できる様にする物です。2つを繋ぐ接着剤と考えて下さい。現在クライアントサイドはReact・Vue・Svelteが対応していてサーバーサイドはLaravel・Railsが対応しています」
LaravelでVue.jsが使える物という事みたいです。
それではVue.jsのバージョン3を導入する方法を解説します。
Vue.jsを導入
Laravel8をインストールします。
次はBreezeをインストールしますが最新版をインストールすると不具合が起きるのでバージョンの指定をします。(今はこのバージョンが使えますがその内追いつかなくなって使えなくなるので注意して下さい)
次はVue.jsのバージョン3をインストールします。
そして↓のコマンドを叩きます。
そしてLaravel Sail等でサーバーを立ち上げます。(「php artisan serve」でもいいと思います )

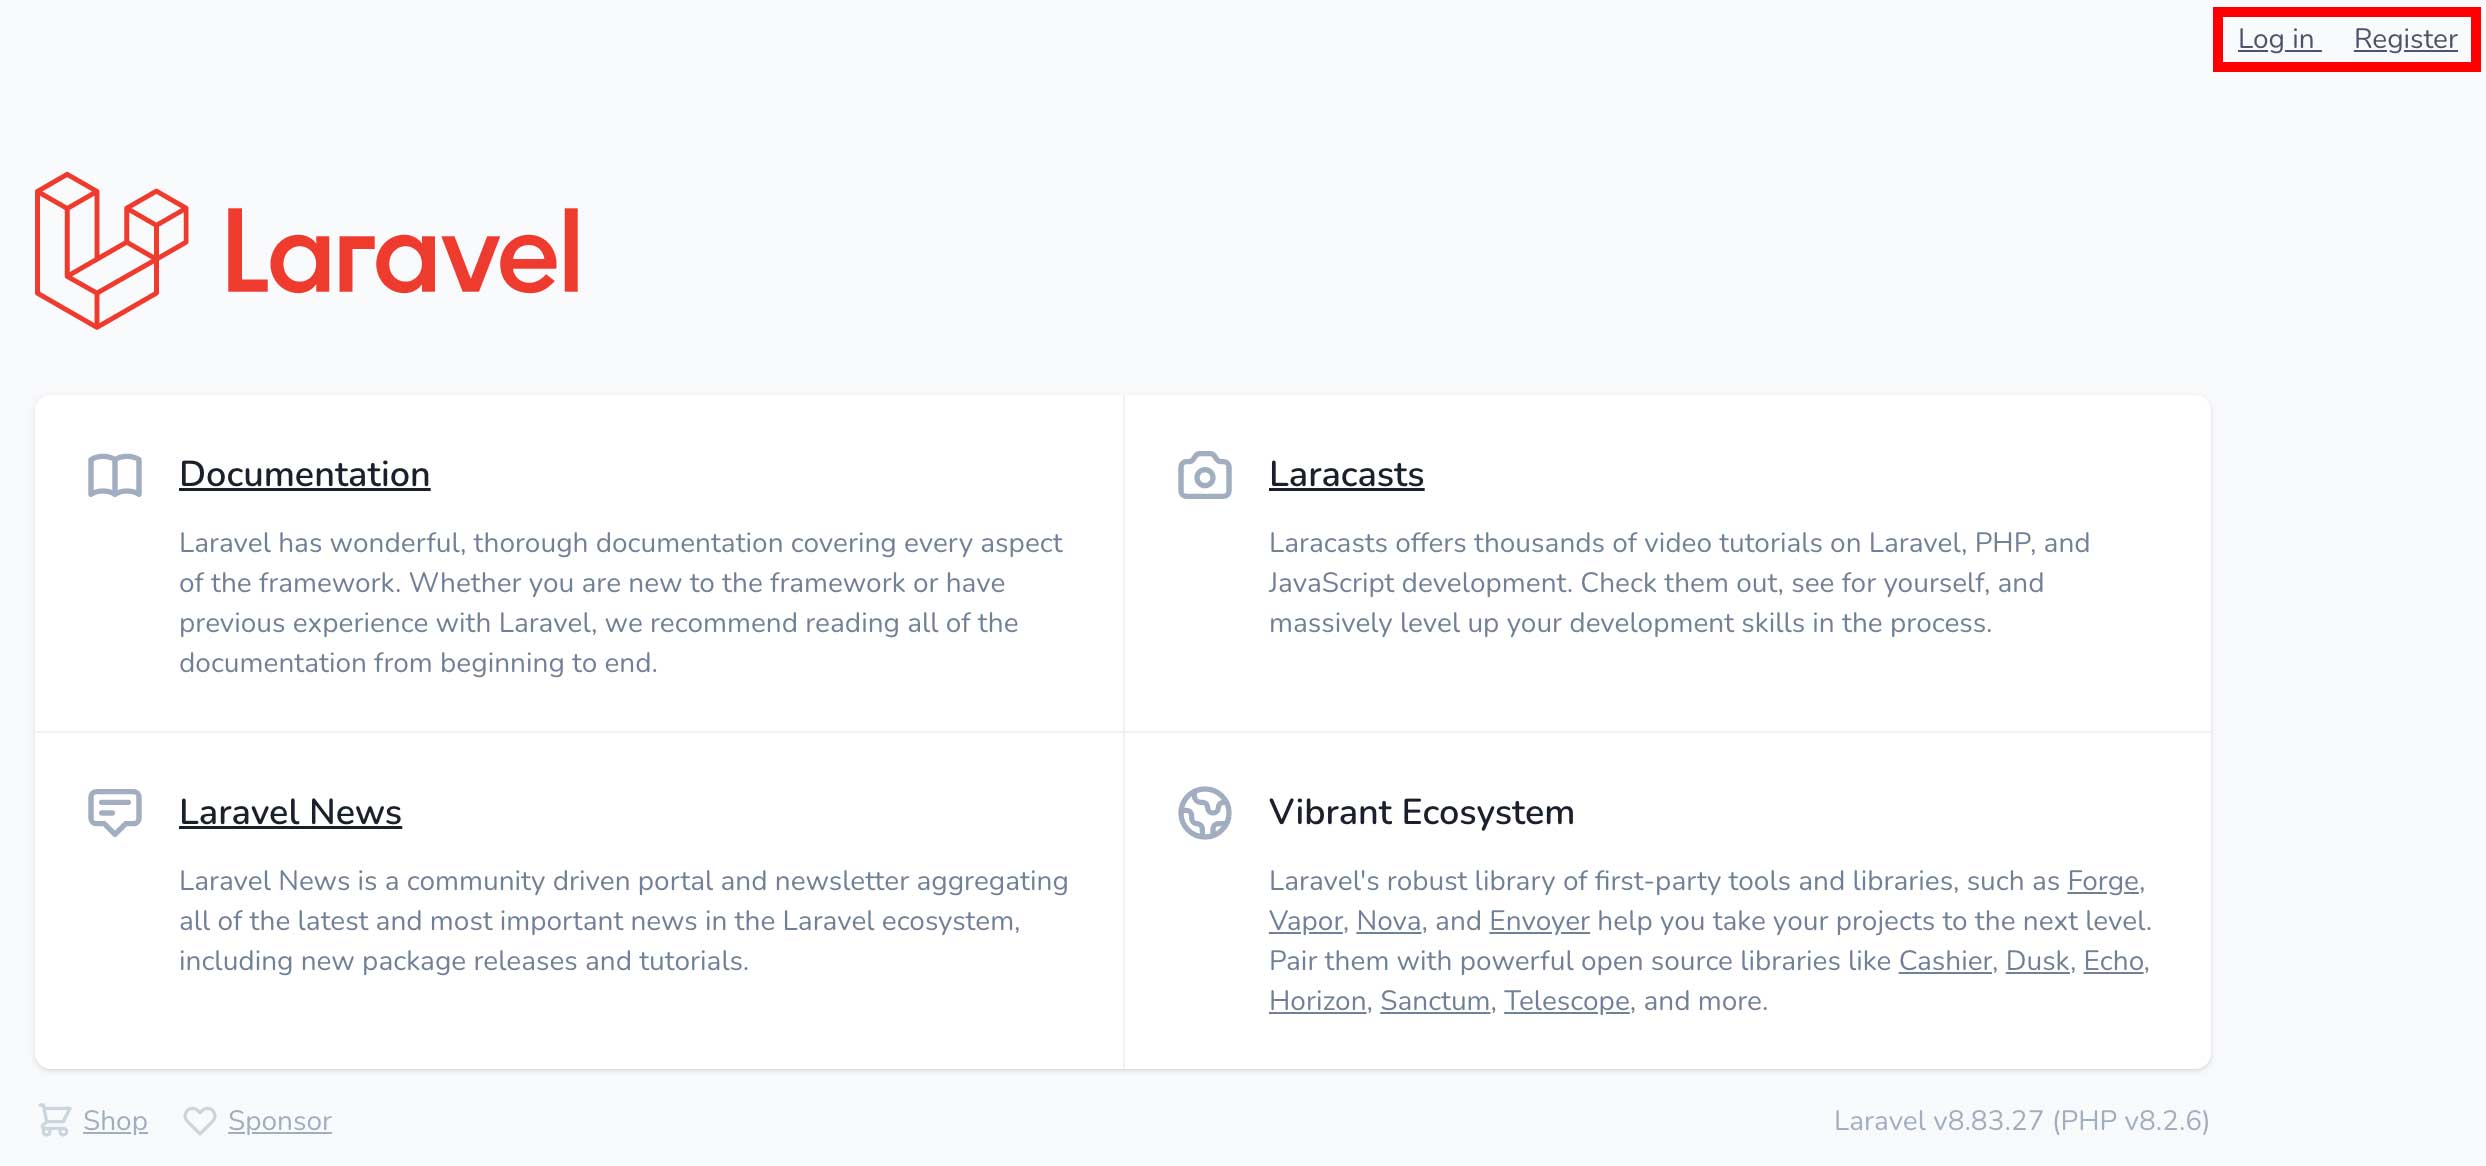
そしてトップページにアクセスして↓が表示されれば成功です。
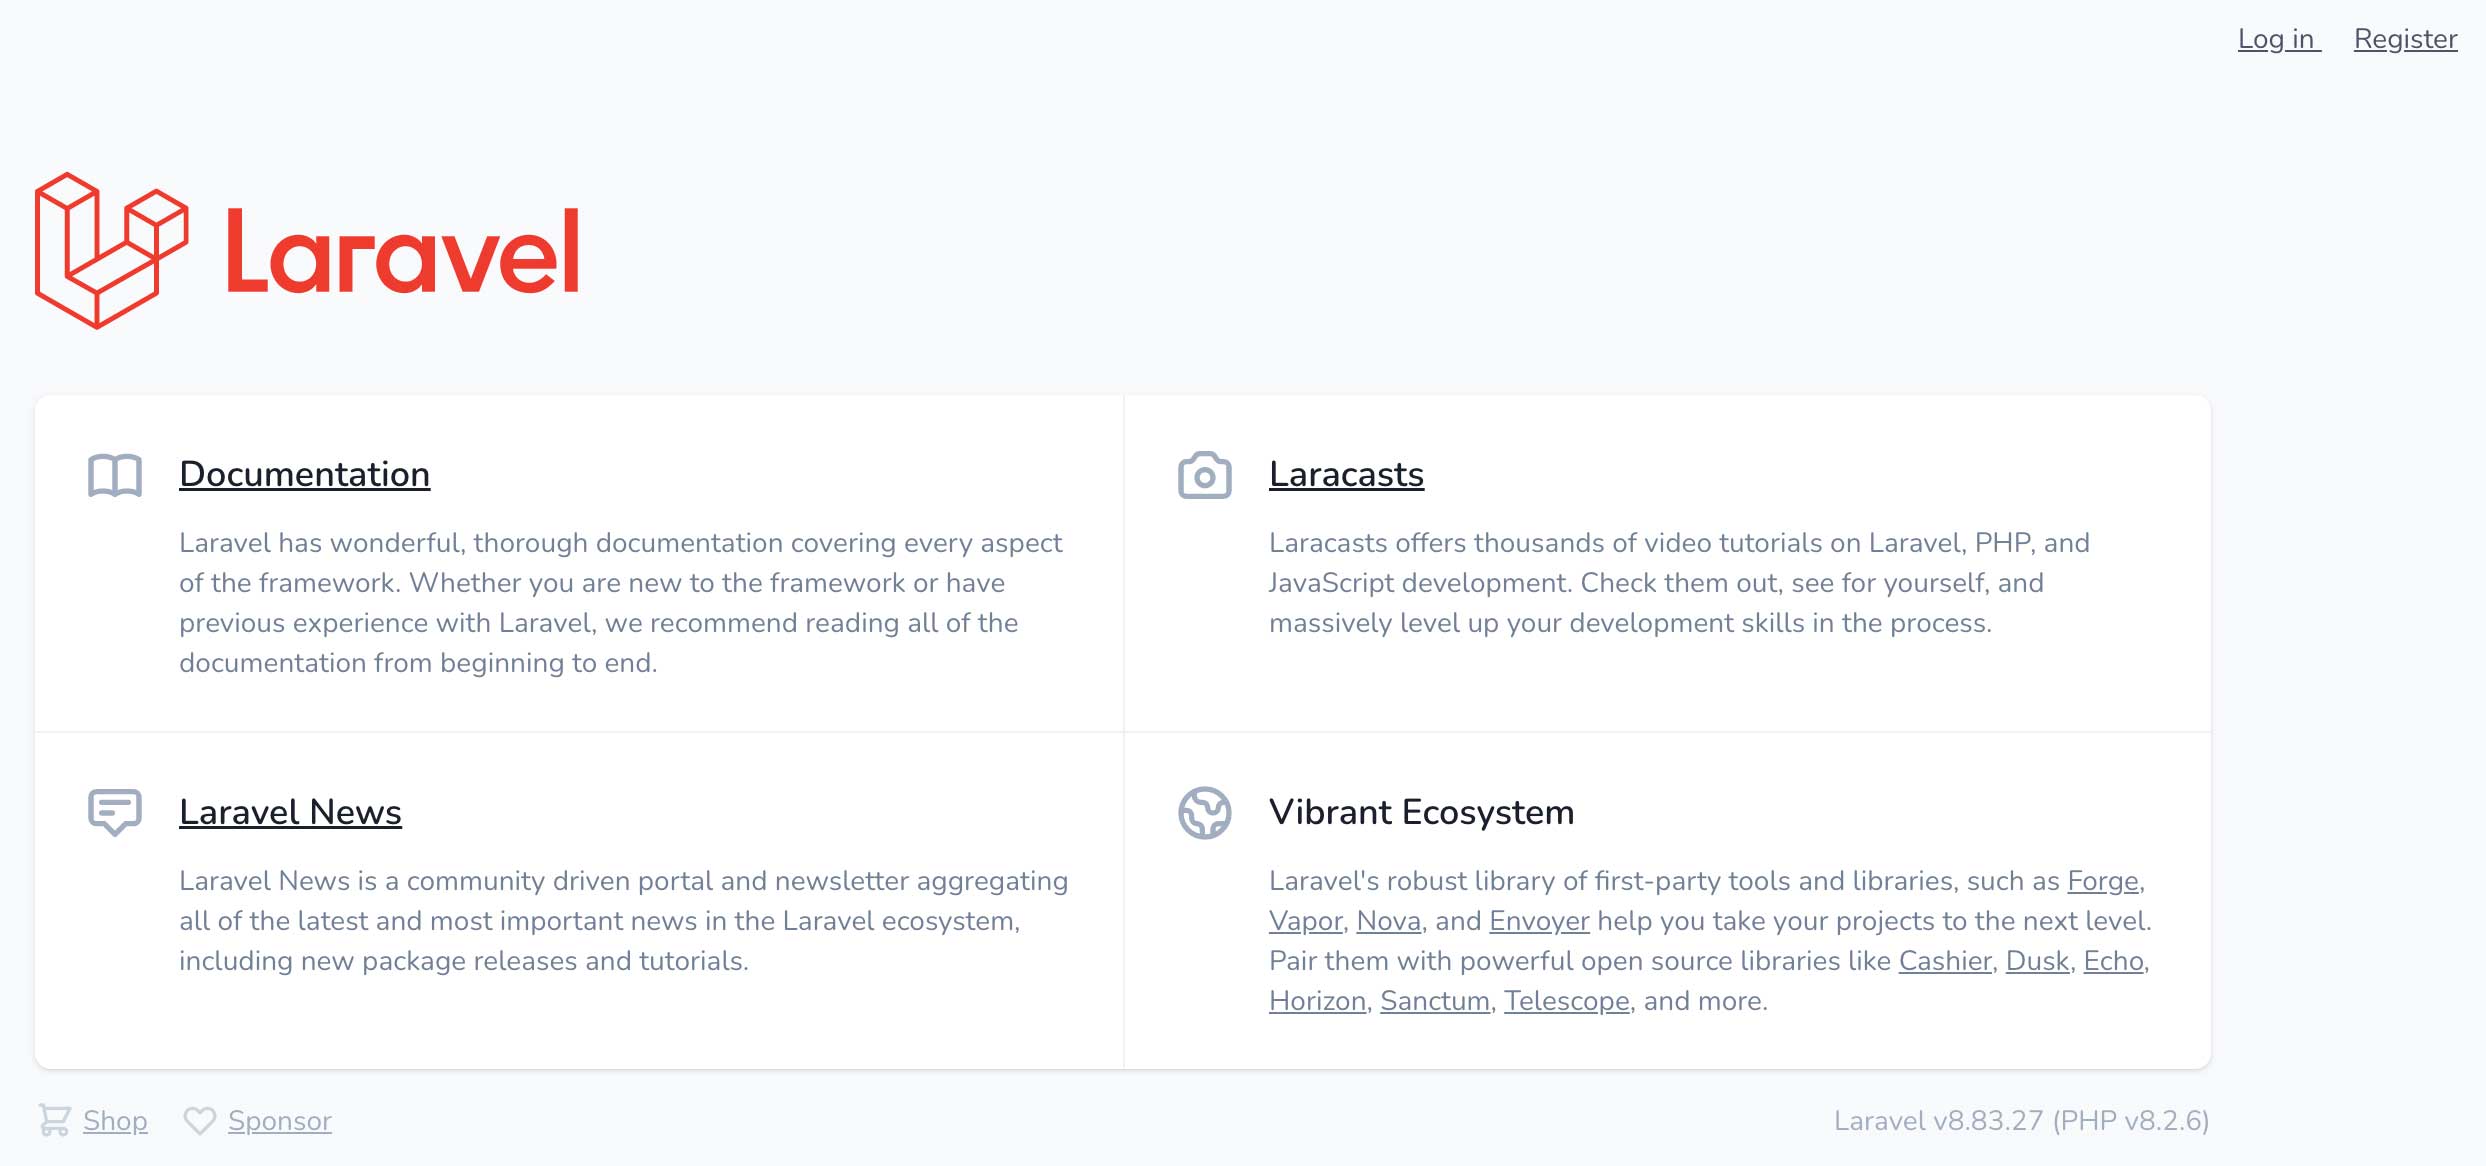
Laravelだと↑のページはbladeですが今はVueに切り替わっています。
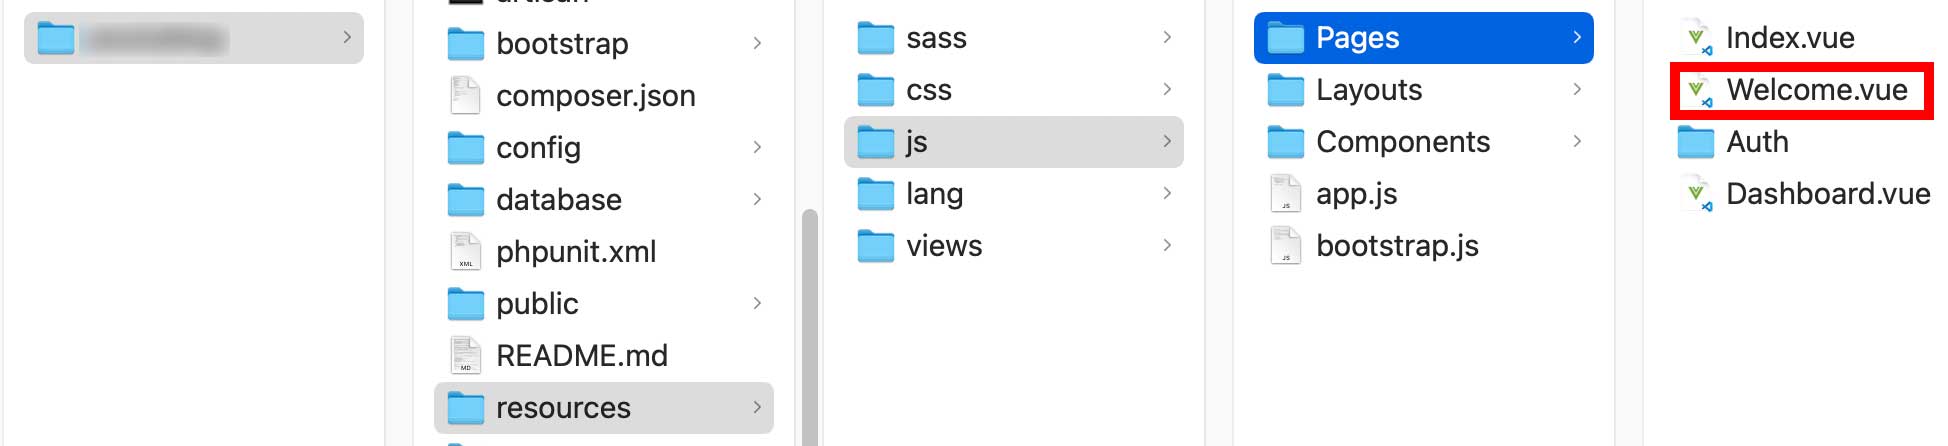
表示するためのファイルは「Laravelのプロジェクト > resources > js > Pages > Welcome.vue」です。
↓の赤枠はログイン・ユーザー登録です。
ログイン・ユーザー登録など認証関係のファイルは「Laravelのプロジェクト > resources > js > Pages > Auth」の下にあります。

ページ内容の変更
Welcom.vueもですが「〜.vue」(ページを表示するファイル)は変更したら「npm run dev」か「npm run watch」(ファイルの中身の変更を常に監視する)をしないと変更が表示されないので注意しましょう。
ルーティングの書き方
web.phpを↓にします。
18行目〜25行目がトップページにアクセスした場合ですがInertiaを導入した場合は書き方が変わります。
34行目が追加したコードですがInertiaを使わない場合とルーティングの書き方は同じです。
コントローラーの書き方
コントローラーの作成方法は今までと同じです。
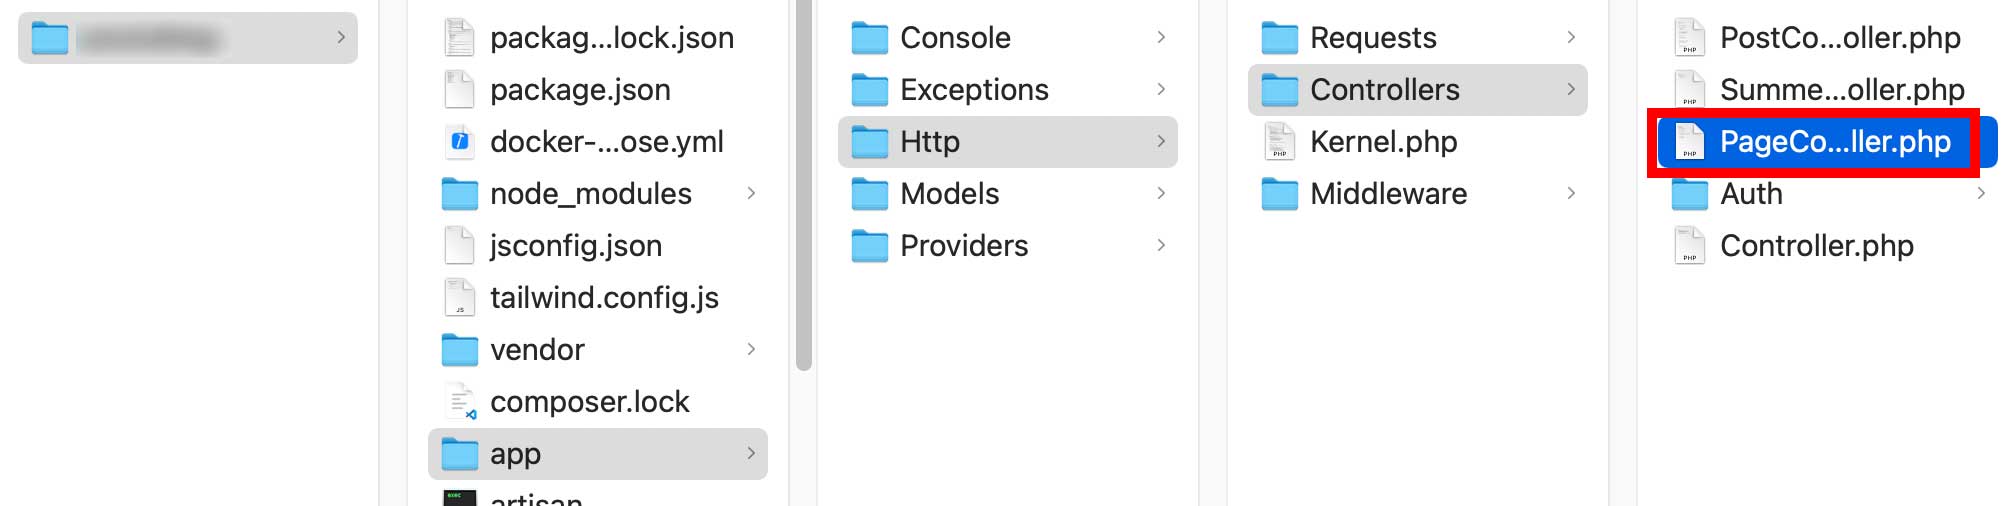
今回は「php artisan make:controller PageController」とします。
「PageController.php」のコードを↓にします。
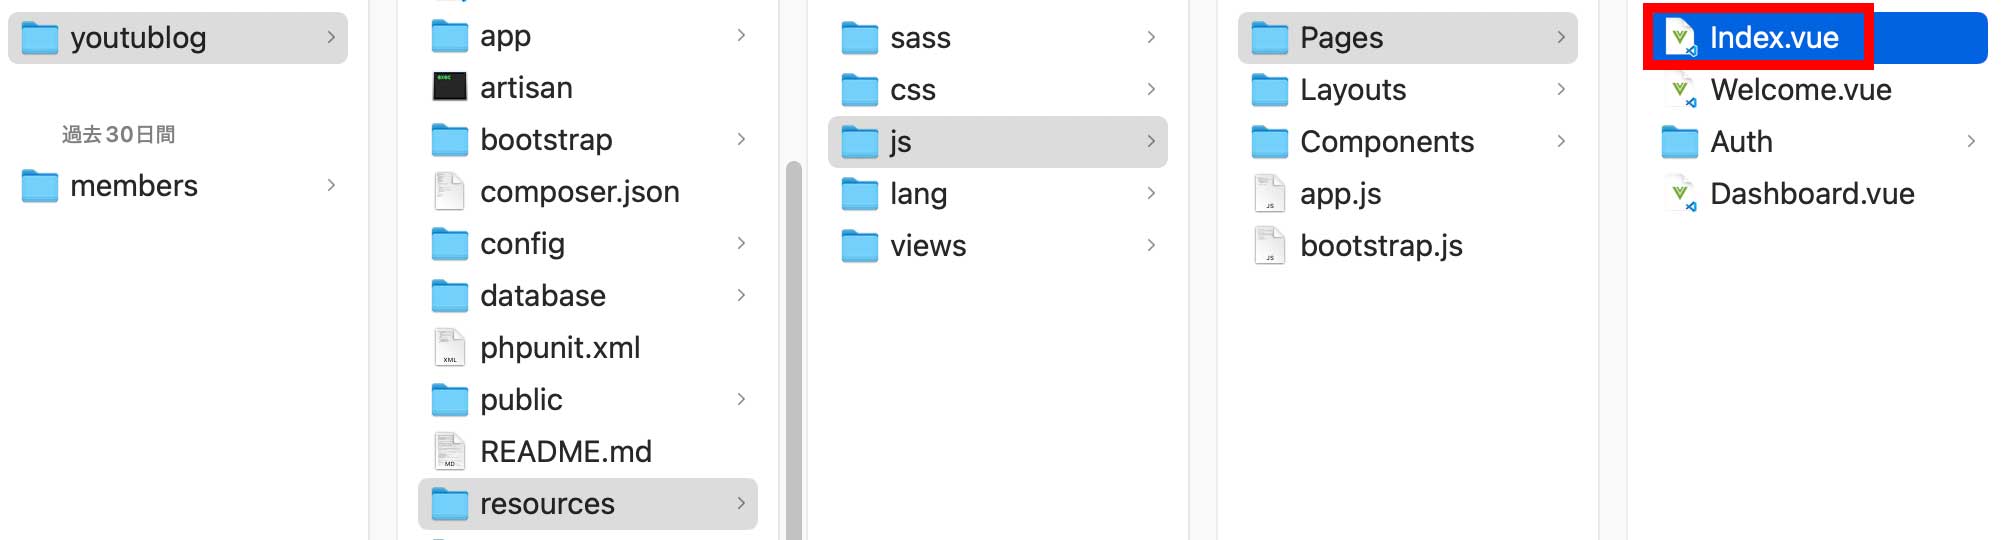
15行目の「Index」が表示に使うファイル(Index.vue)で「Laravelのプロジェクト > resources > js > Pages」の下に配置します。
「Inertia::render( )」はInertiaを使ってvueのファイルを表示する為にあると思って下さい。
表示するVueファイル
Index.vueで表示する中身は何でもいいのですが↓とします。
簡素ですが「デモページ」と表示されます。
コンポーネントの使用
Index.vueの中に他のページと共通で使える部分(Header.vueとします)がある場合はコンポーネントにしますがその場合はコードを↓にします。
4行目のscriptタグの中に「setup」がありますがそんなもんと思いましょう。
5行目はHeader.vueを呼び出す為の記述で「Header」はHeader.vueのHeaderです。
11行目の「Header」もHeader.vueのHeaderです。
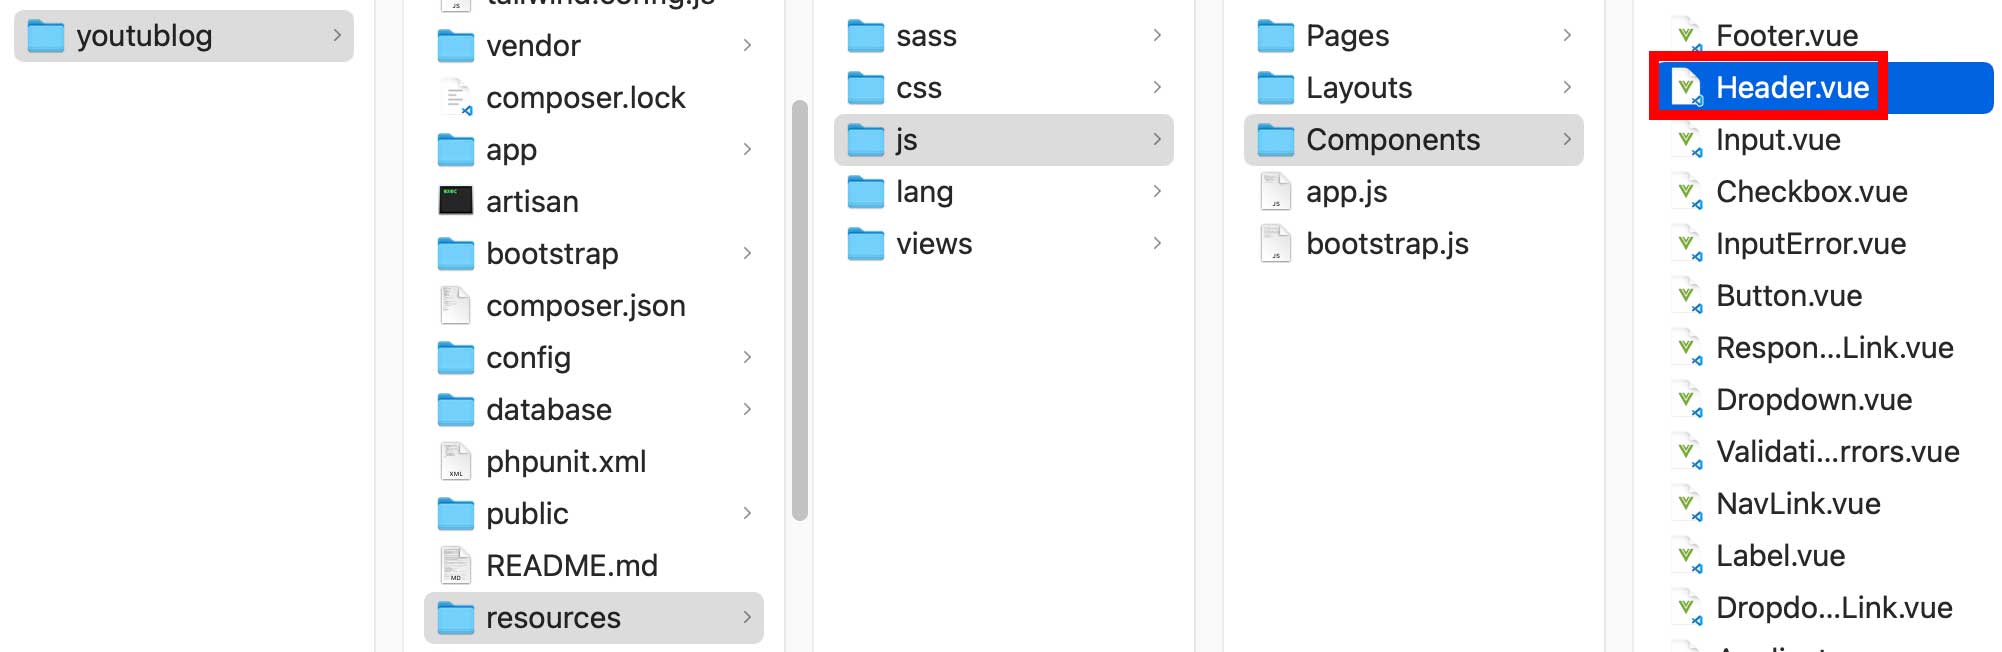
コンポーネントのファイルは「Laravelのプロジェクト > resources > js > Components」の下に配置します。
Header.vueで<template></template>の間に何かを記述すればそれをIndex.vueで表示するページで見る事ができます。
画像の使用
imgタグで画像を表示する時はコードを↓にします。
パスの起点がpublicになるのでpublicフォルダの下にimagesフォルダを作成してその下にheaderフォルダを作成してファイルを配置しました。
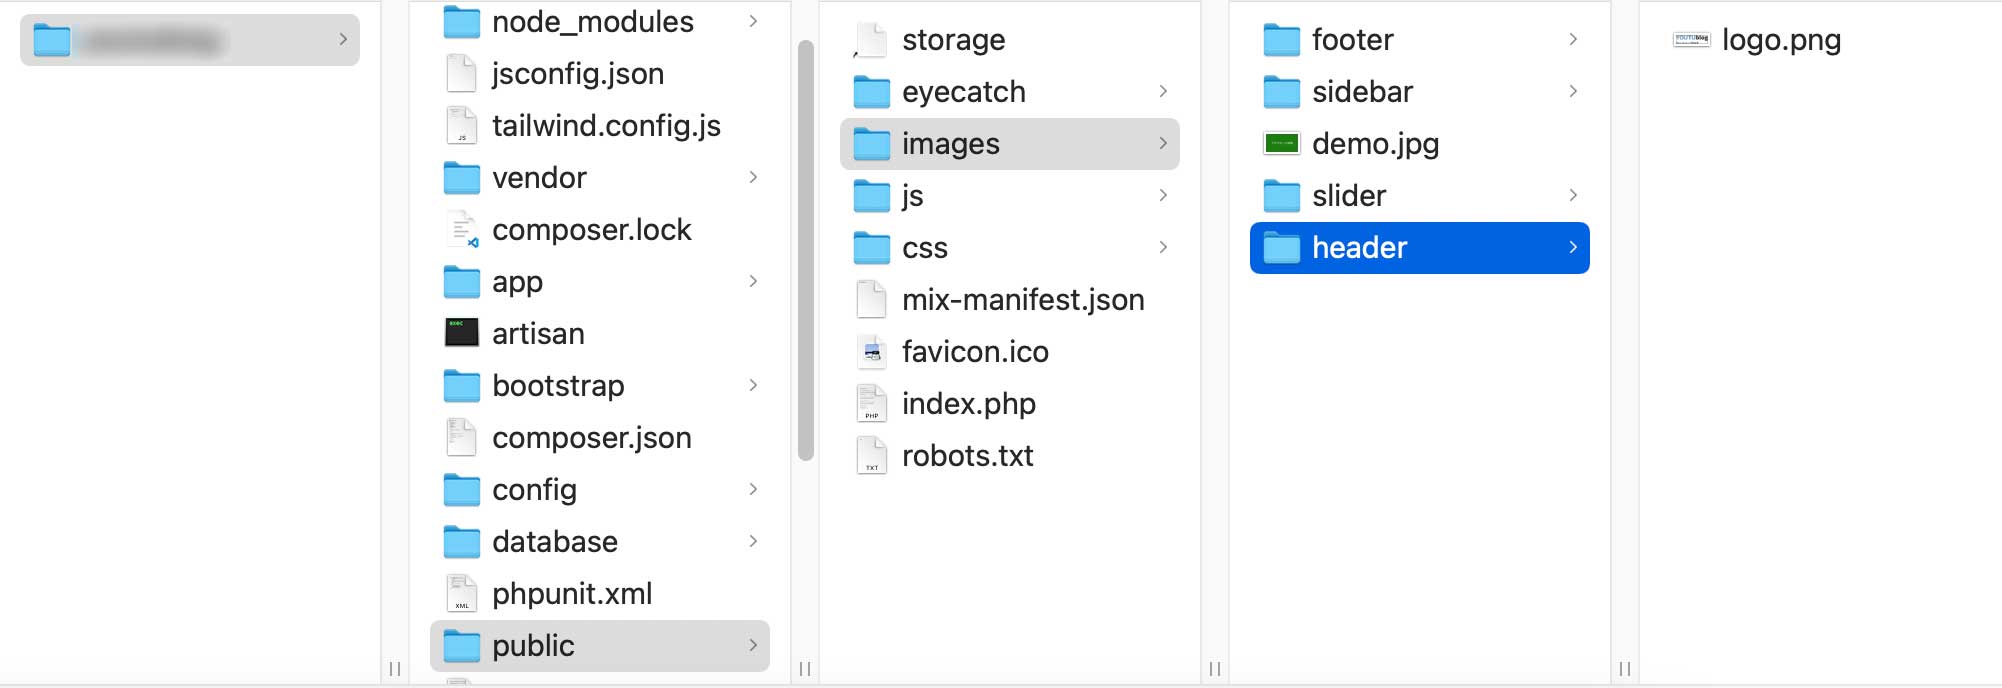
publicフォルダより下の階層に画像を置くならパスは私と同じでなくていいです。
scssの使用
ネットを調べると「nodesass」と「Dartsass」というのがありますがnodesassは非推奨(本当は2022年の10月辺りに廃止になるはずだったけど廃止にならなかった)なのでDartsassを入れましょう。
コマンドは「npm install -D sass-loader@^10 sass」ですがバージョンがその内追いつかなくなると思うので注意して下さい。
Index.vueでscssを使ってみますがコードを↓にします。
12行目の様にstyleタグに「lang=”scss”」を付ければscssが使えます。
他のcssファイルの読み込み
webサイトを作るならリセットcssを使うはずです。
他のcssファイルを読み込む場合でもいいですがstyleタグの中でimportを使います。
Index.vueのコードを↓にします。
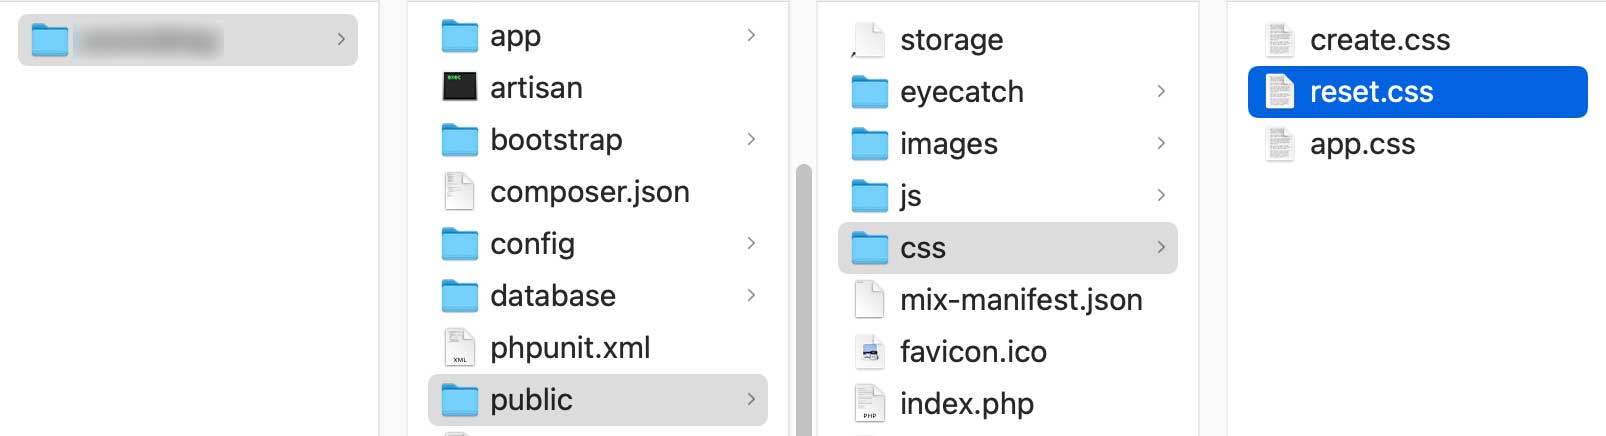
11行目を追加していますがパスはpublicが起点になってその下にデフォルトで存在しているcssフォルダがありその下にcssファイルを置いています。
グーグルフォントの使用
これもstyleタグでimportを使います。
12行目を追加していますが「https」以降は以下のやり方で見つける事ができます。
グーグルフォントのサイトにアクセスします。
フォント名を入力します。

例えば「noto sans」と入力すると検索結果が表示されます。
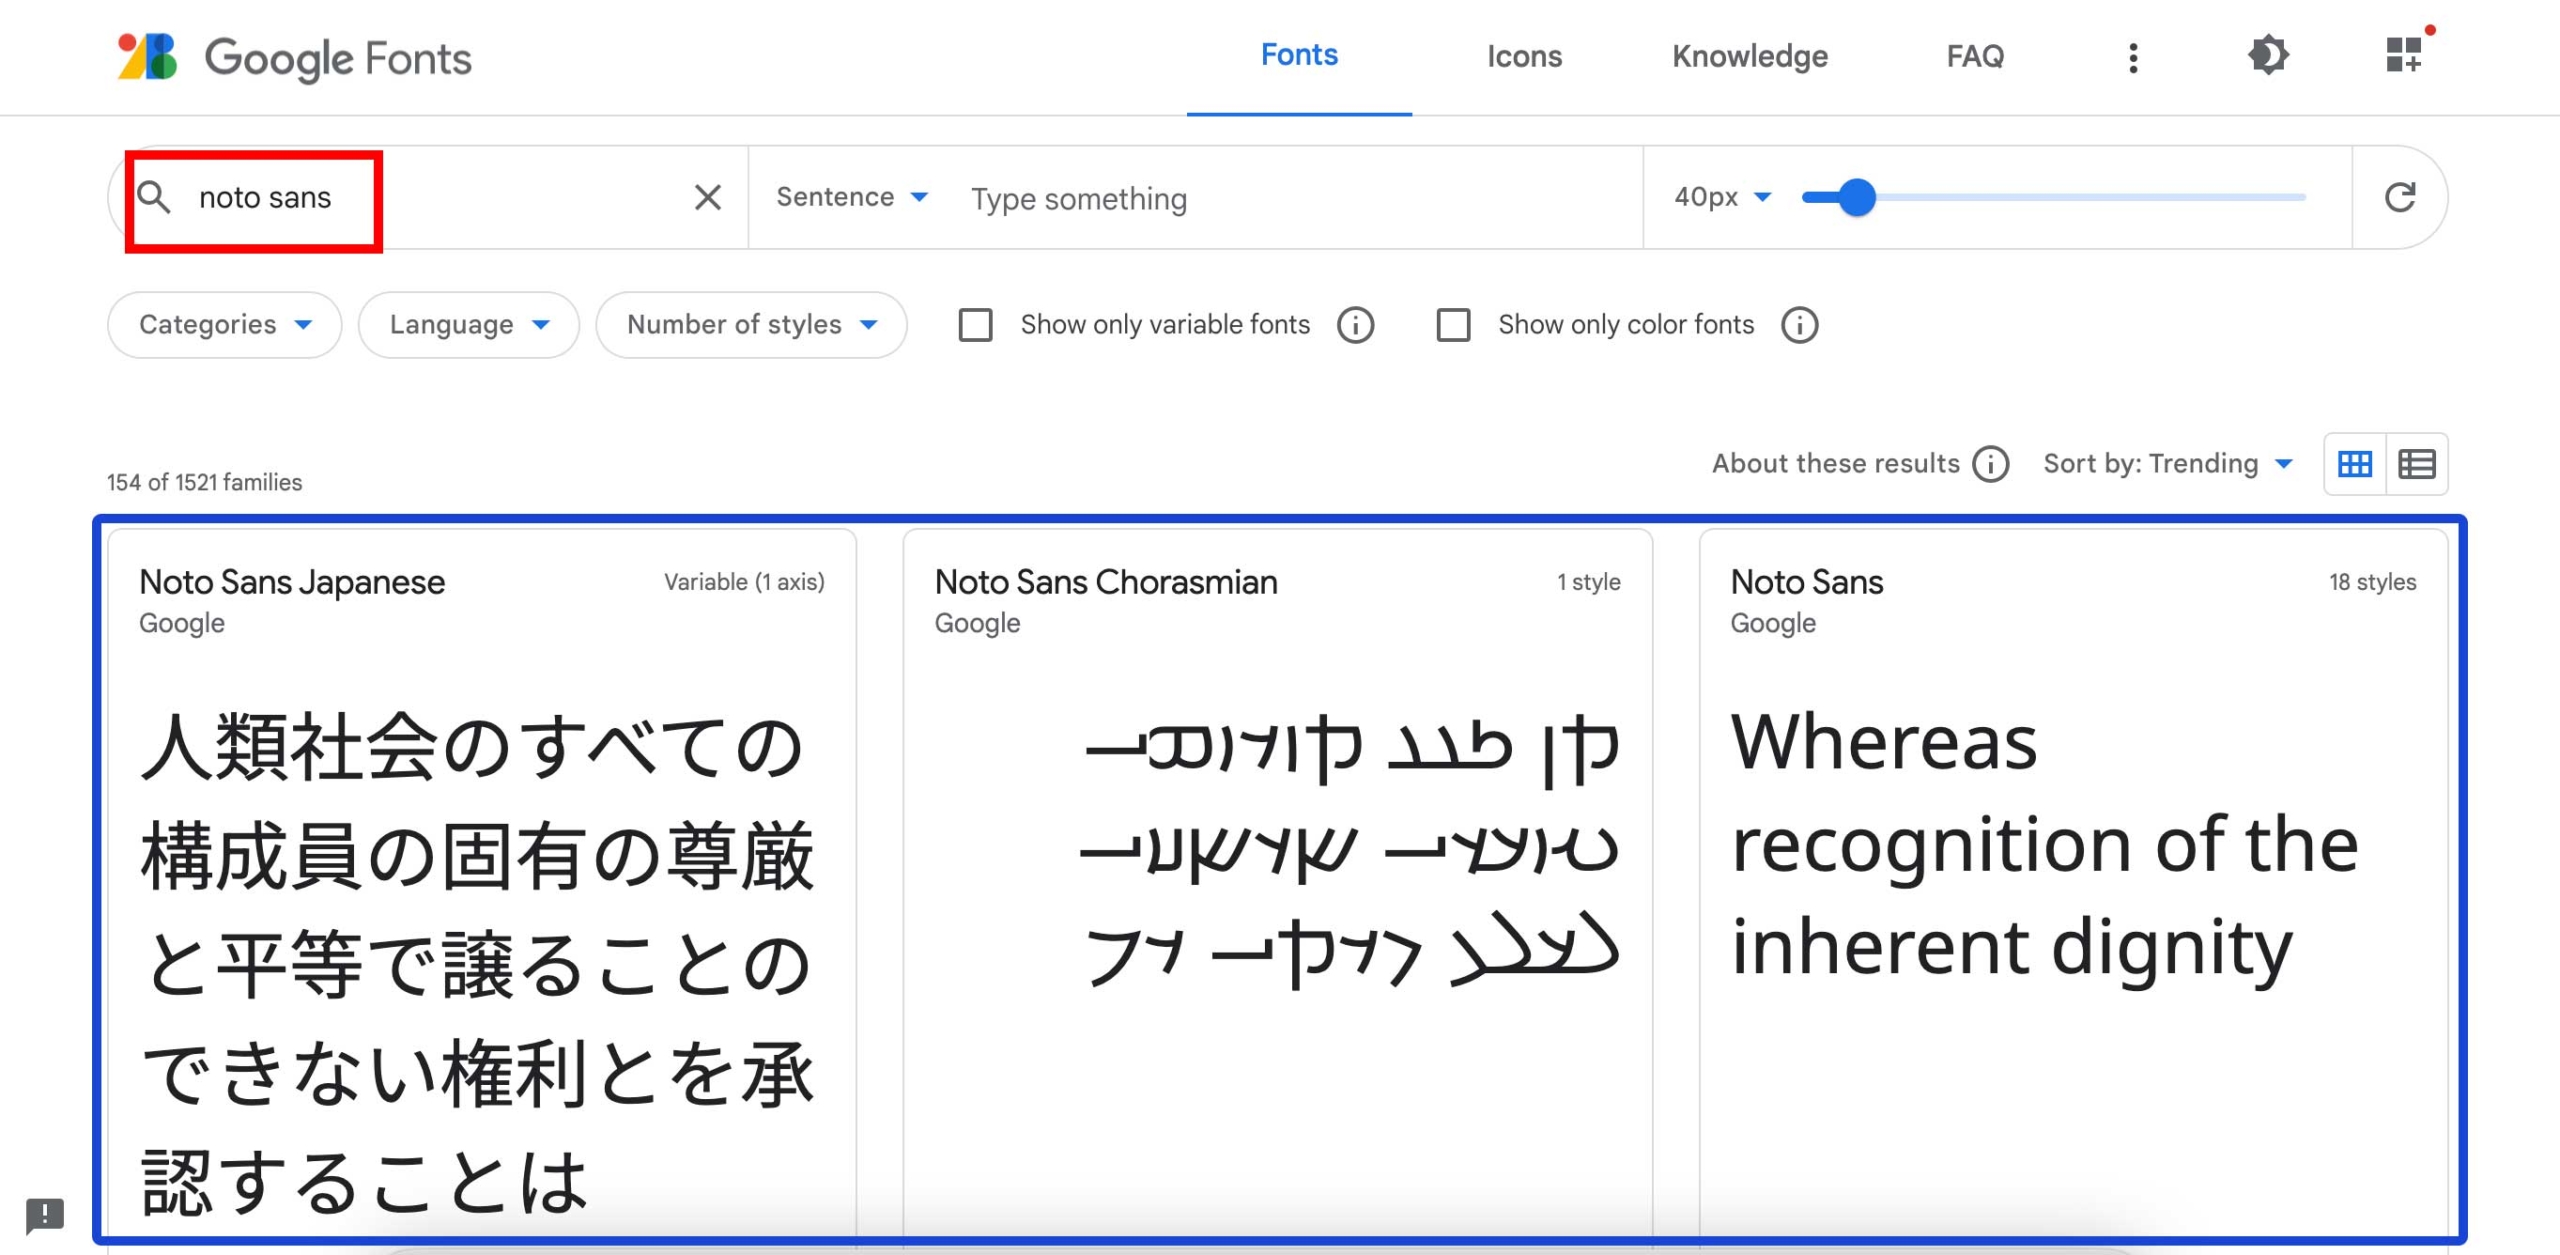
一番左の「Noto Sans Japanese」を選択するとフォントのページに移動します。
下の方に行くとフォントの種類の選択になるのですが↓の赤枠を選択したとします。
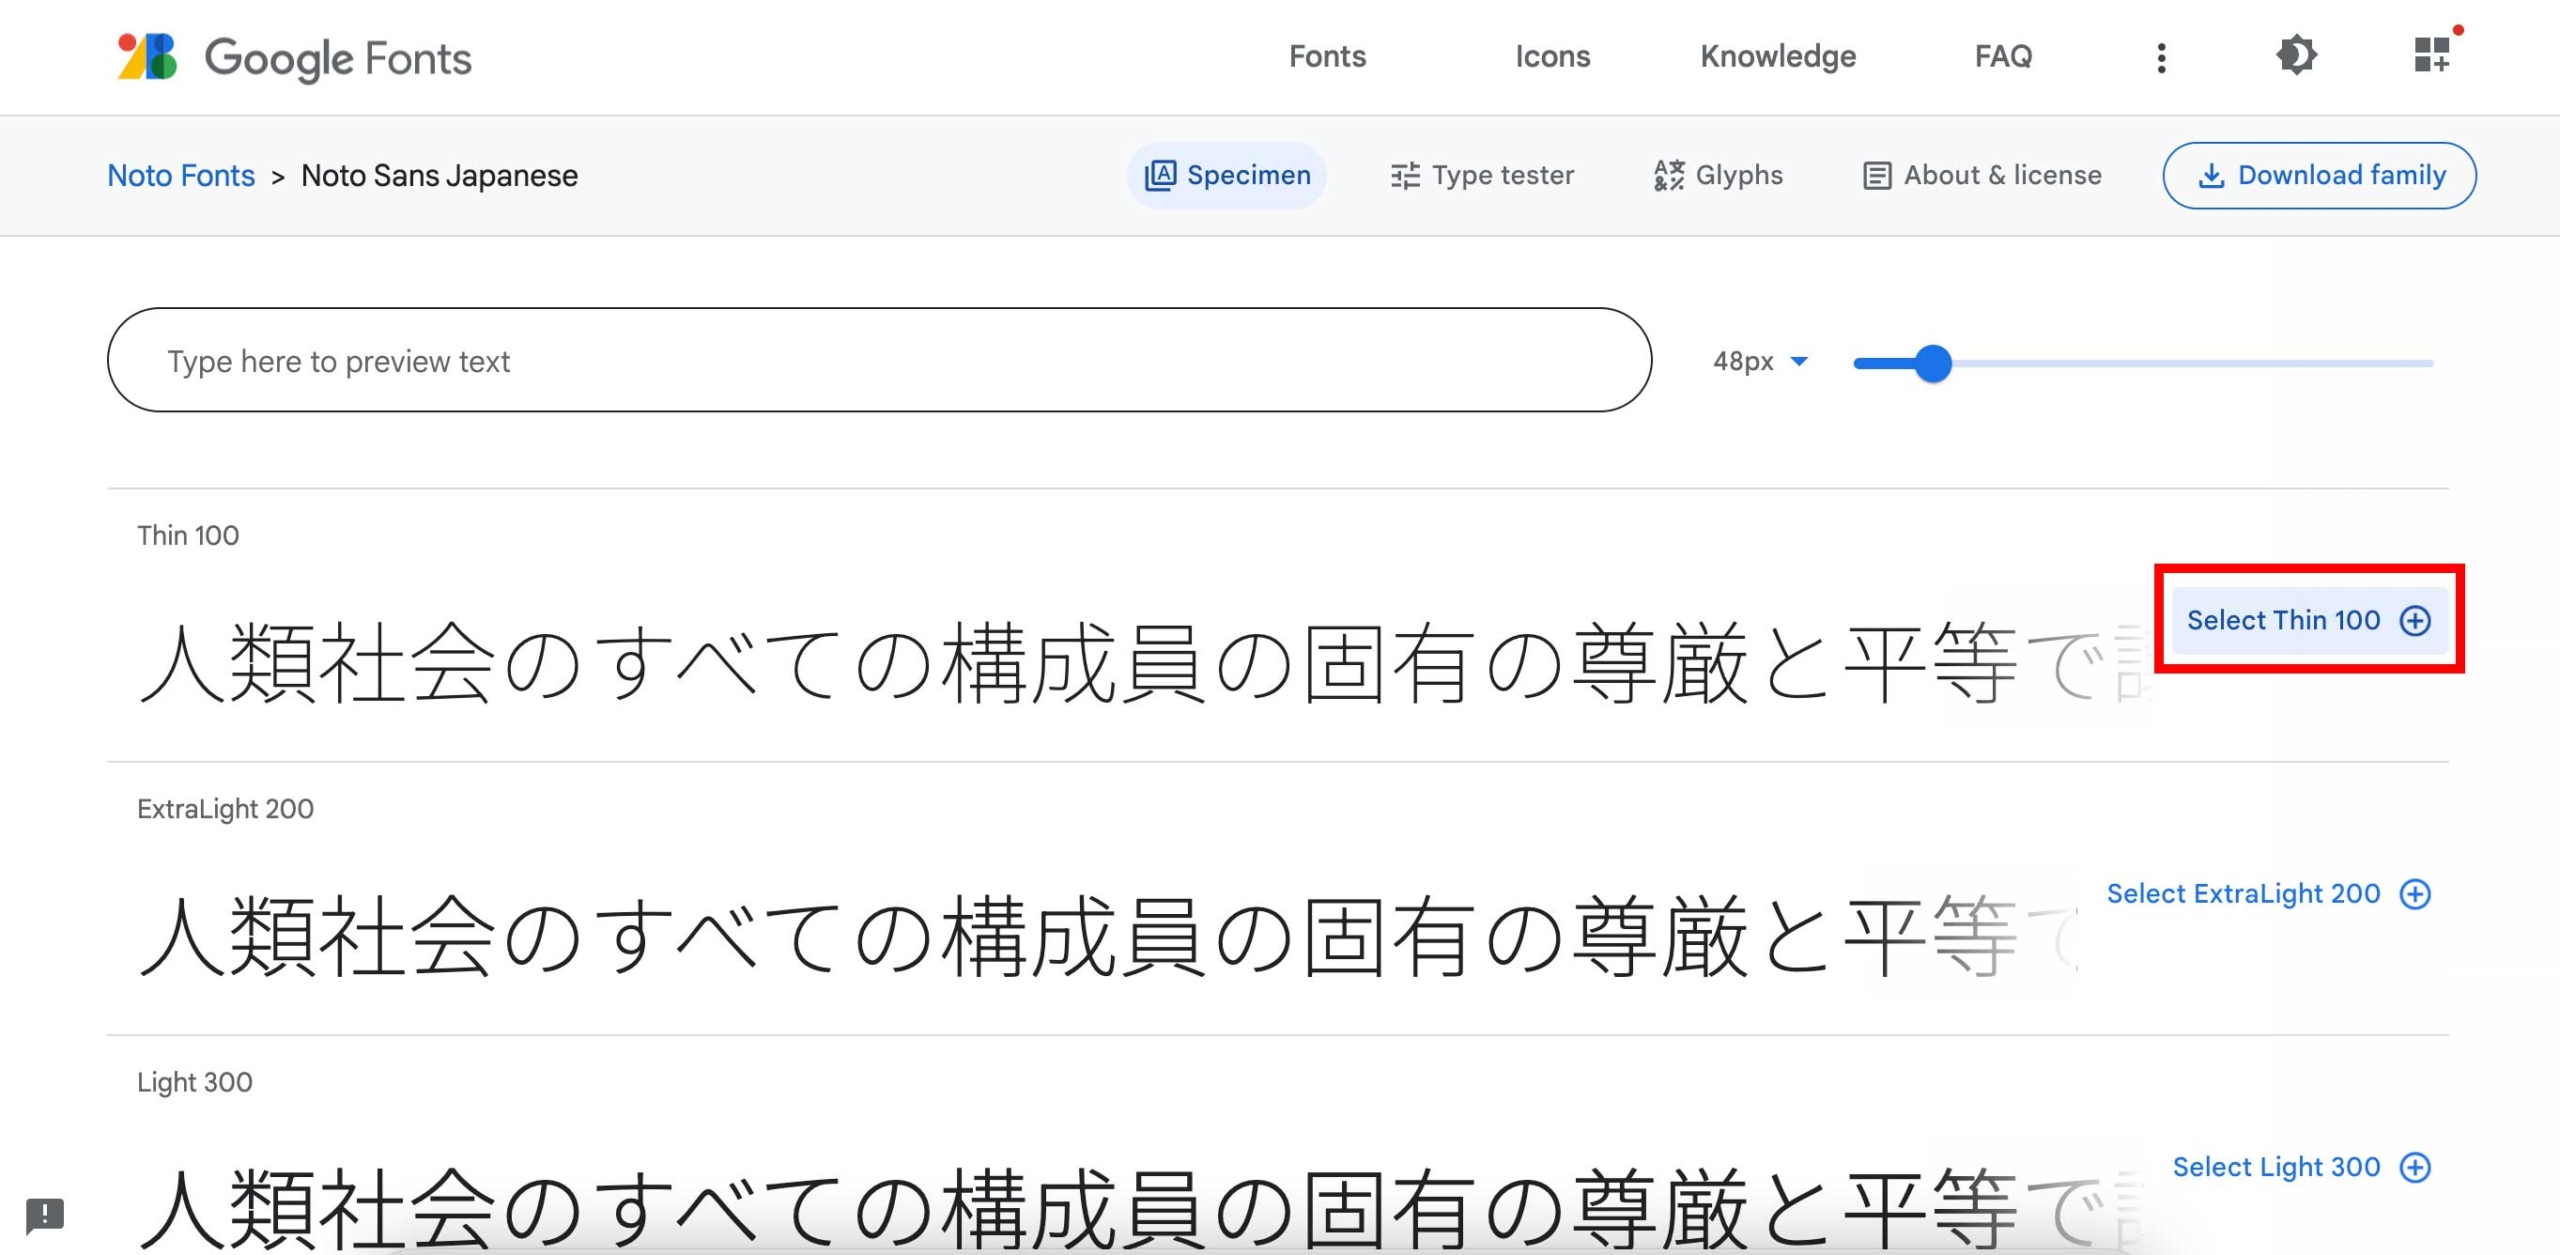
そして↓の赤枠をクリックします。
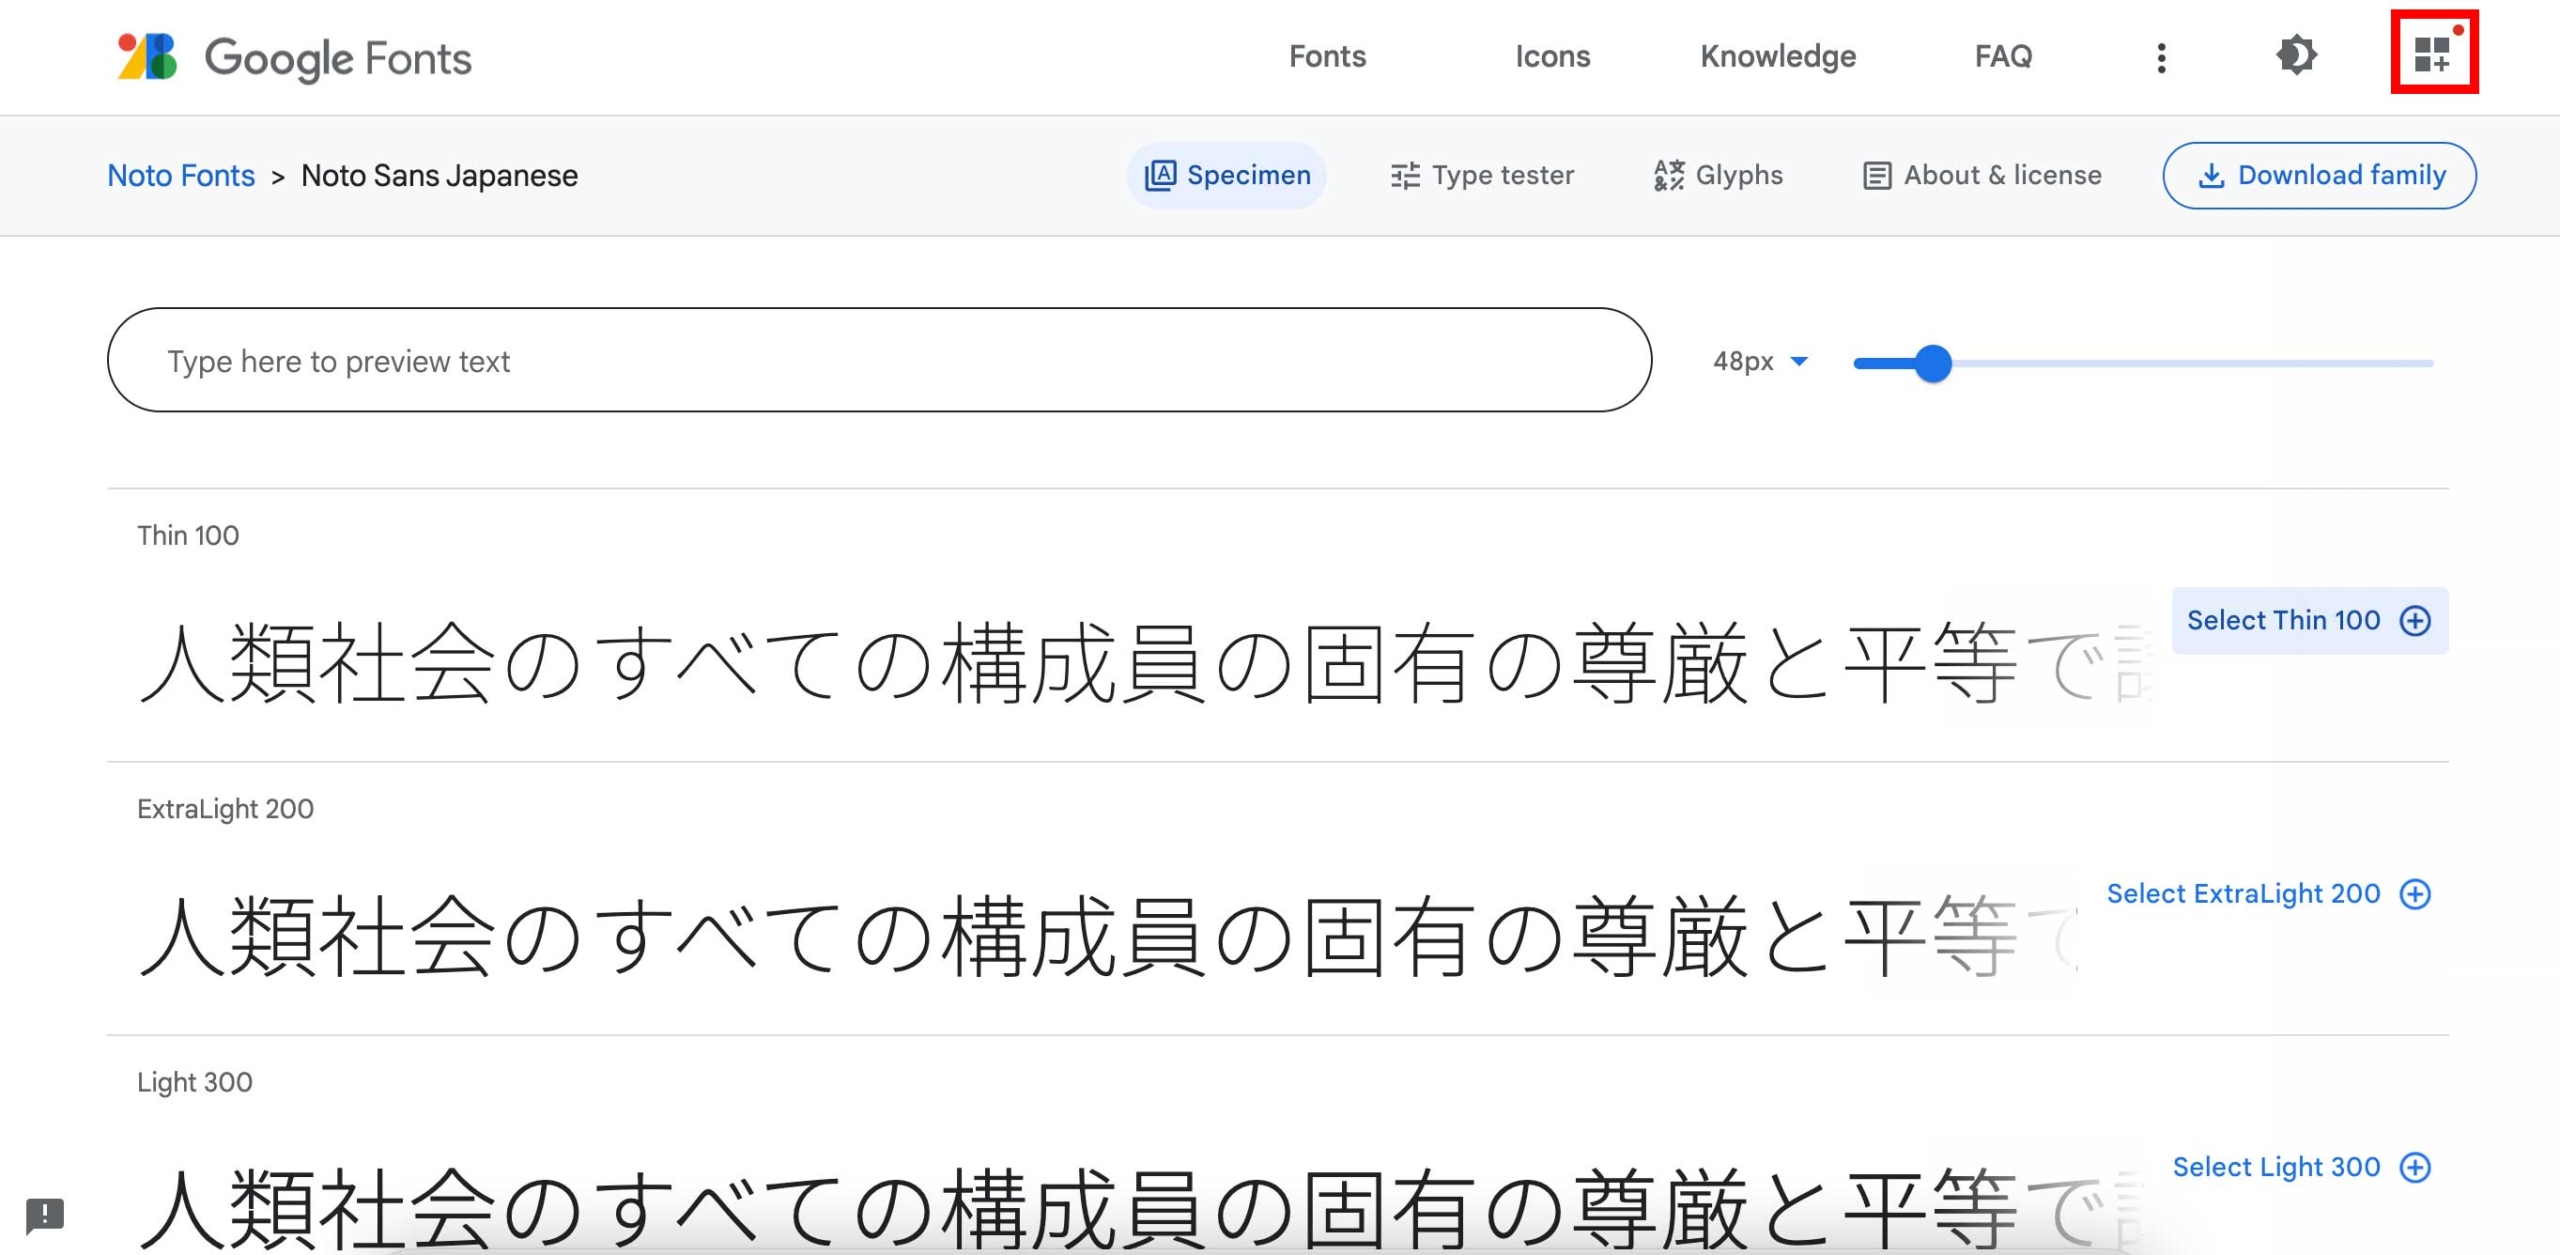
すると↓になって赤枠の中の「href=” “」の” “の中身をコピーします。
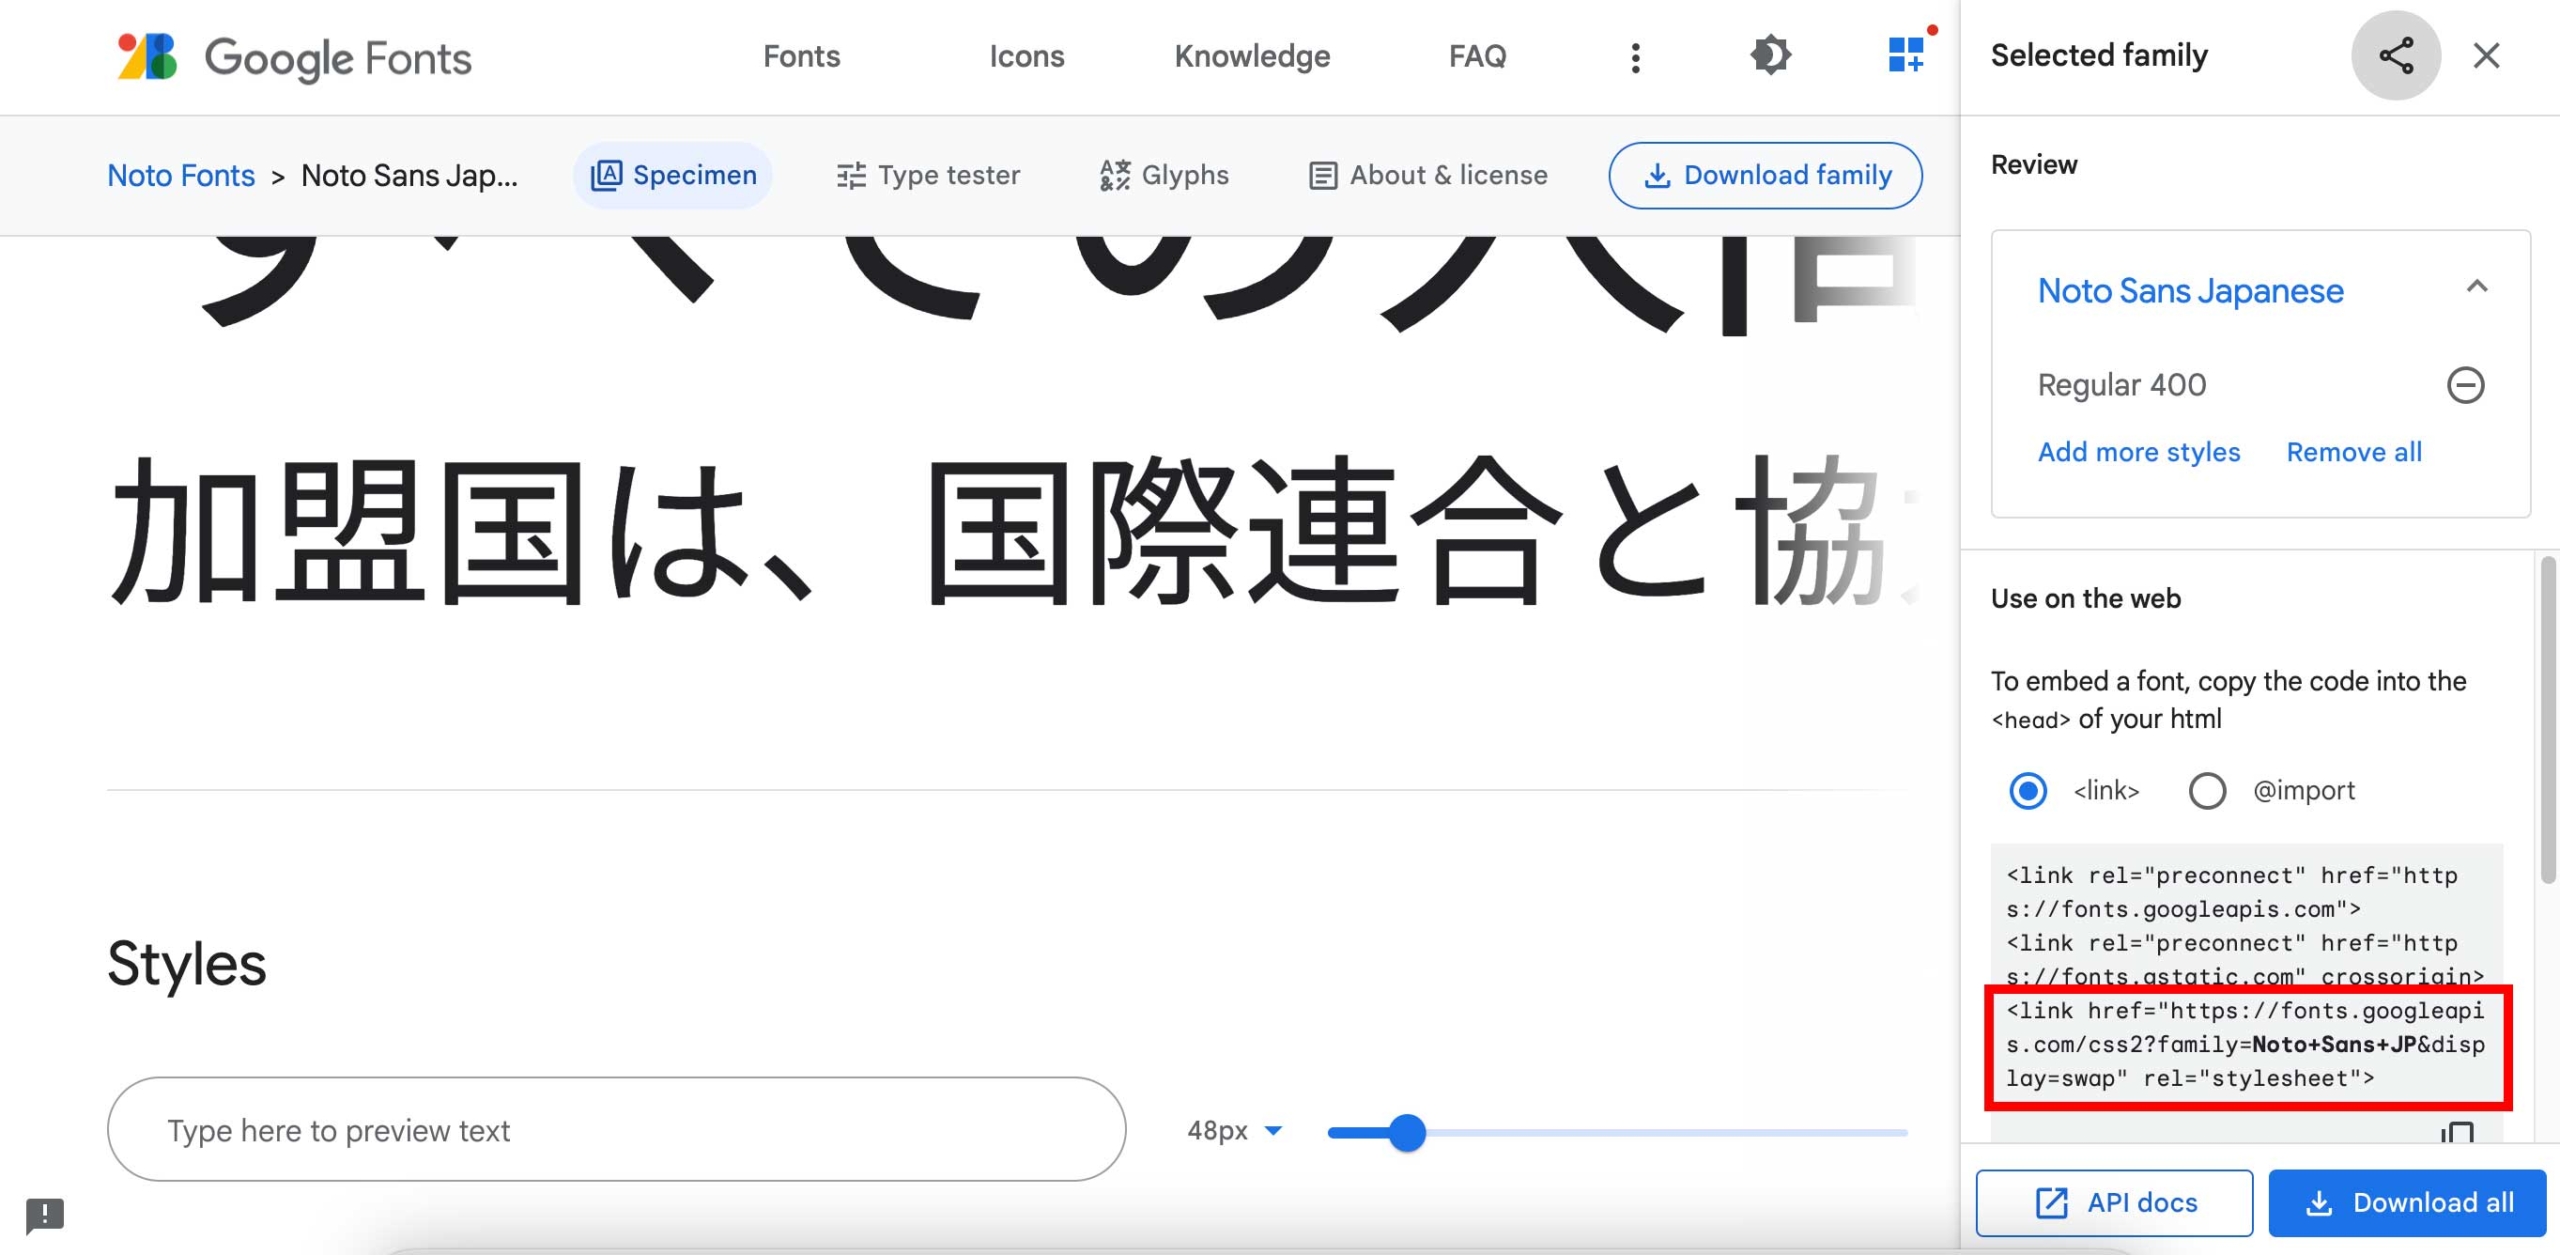
そしてstyleタグの12行目の「https://fonts.googleapis.com/css?family=Noto+Sans+JP&display=swap」の部分にコピーしたコードを貼り付ければグーグルフォントが使えます。
これでLaravelの中でVue.jsを使う為の設定は大丈夫だと思います。
最後にLaravelでデータベースに登録した情報をVue.jsに渡します。
データベースに登録
まずはLaravelでデータベースに情報を登録する為の記述ですがこれは今回の説明の範囲外なのでコードだけ掲載します。
コードの内容は自分で理解して下さい。
テーブルの作成
postsテーブルを作成する為にモデルとマイグレーションファイルを作成します。
↓のコマンドでモデルとマイグレーションファイルを作成します。
マイグレーションファイルに↓の記述をします。
マイグレーションファイルの記述が終わったら「php artisan migrate」をします。
するとpostsテーブルにカラムが作成されます。

ルーティング
web.phpを↓にします。
記事の投稿に関する記述は37行目・38行目です。
今回登録内容の本文を作成する際にリッチエディタのsummernoteを使っていますが気になる人は↓の記事を読んで下さい。

コントローラー
PageController.phpを↓にします。
またPost.phpを↓にします。
ビュー
「Laravelのプロジェクト > resources > views」の下にpostフォルダを作成してその下にcreate.blade.phpを作成したらコードを↓にします。
この時のcreate.scssとreset.scssは↓です。
またwebpack.mix.jsは↓です。
npm run devをするとビューの見た目が↓になります。
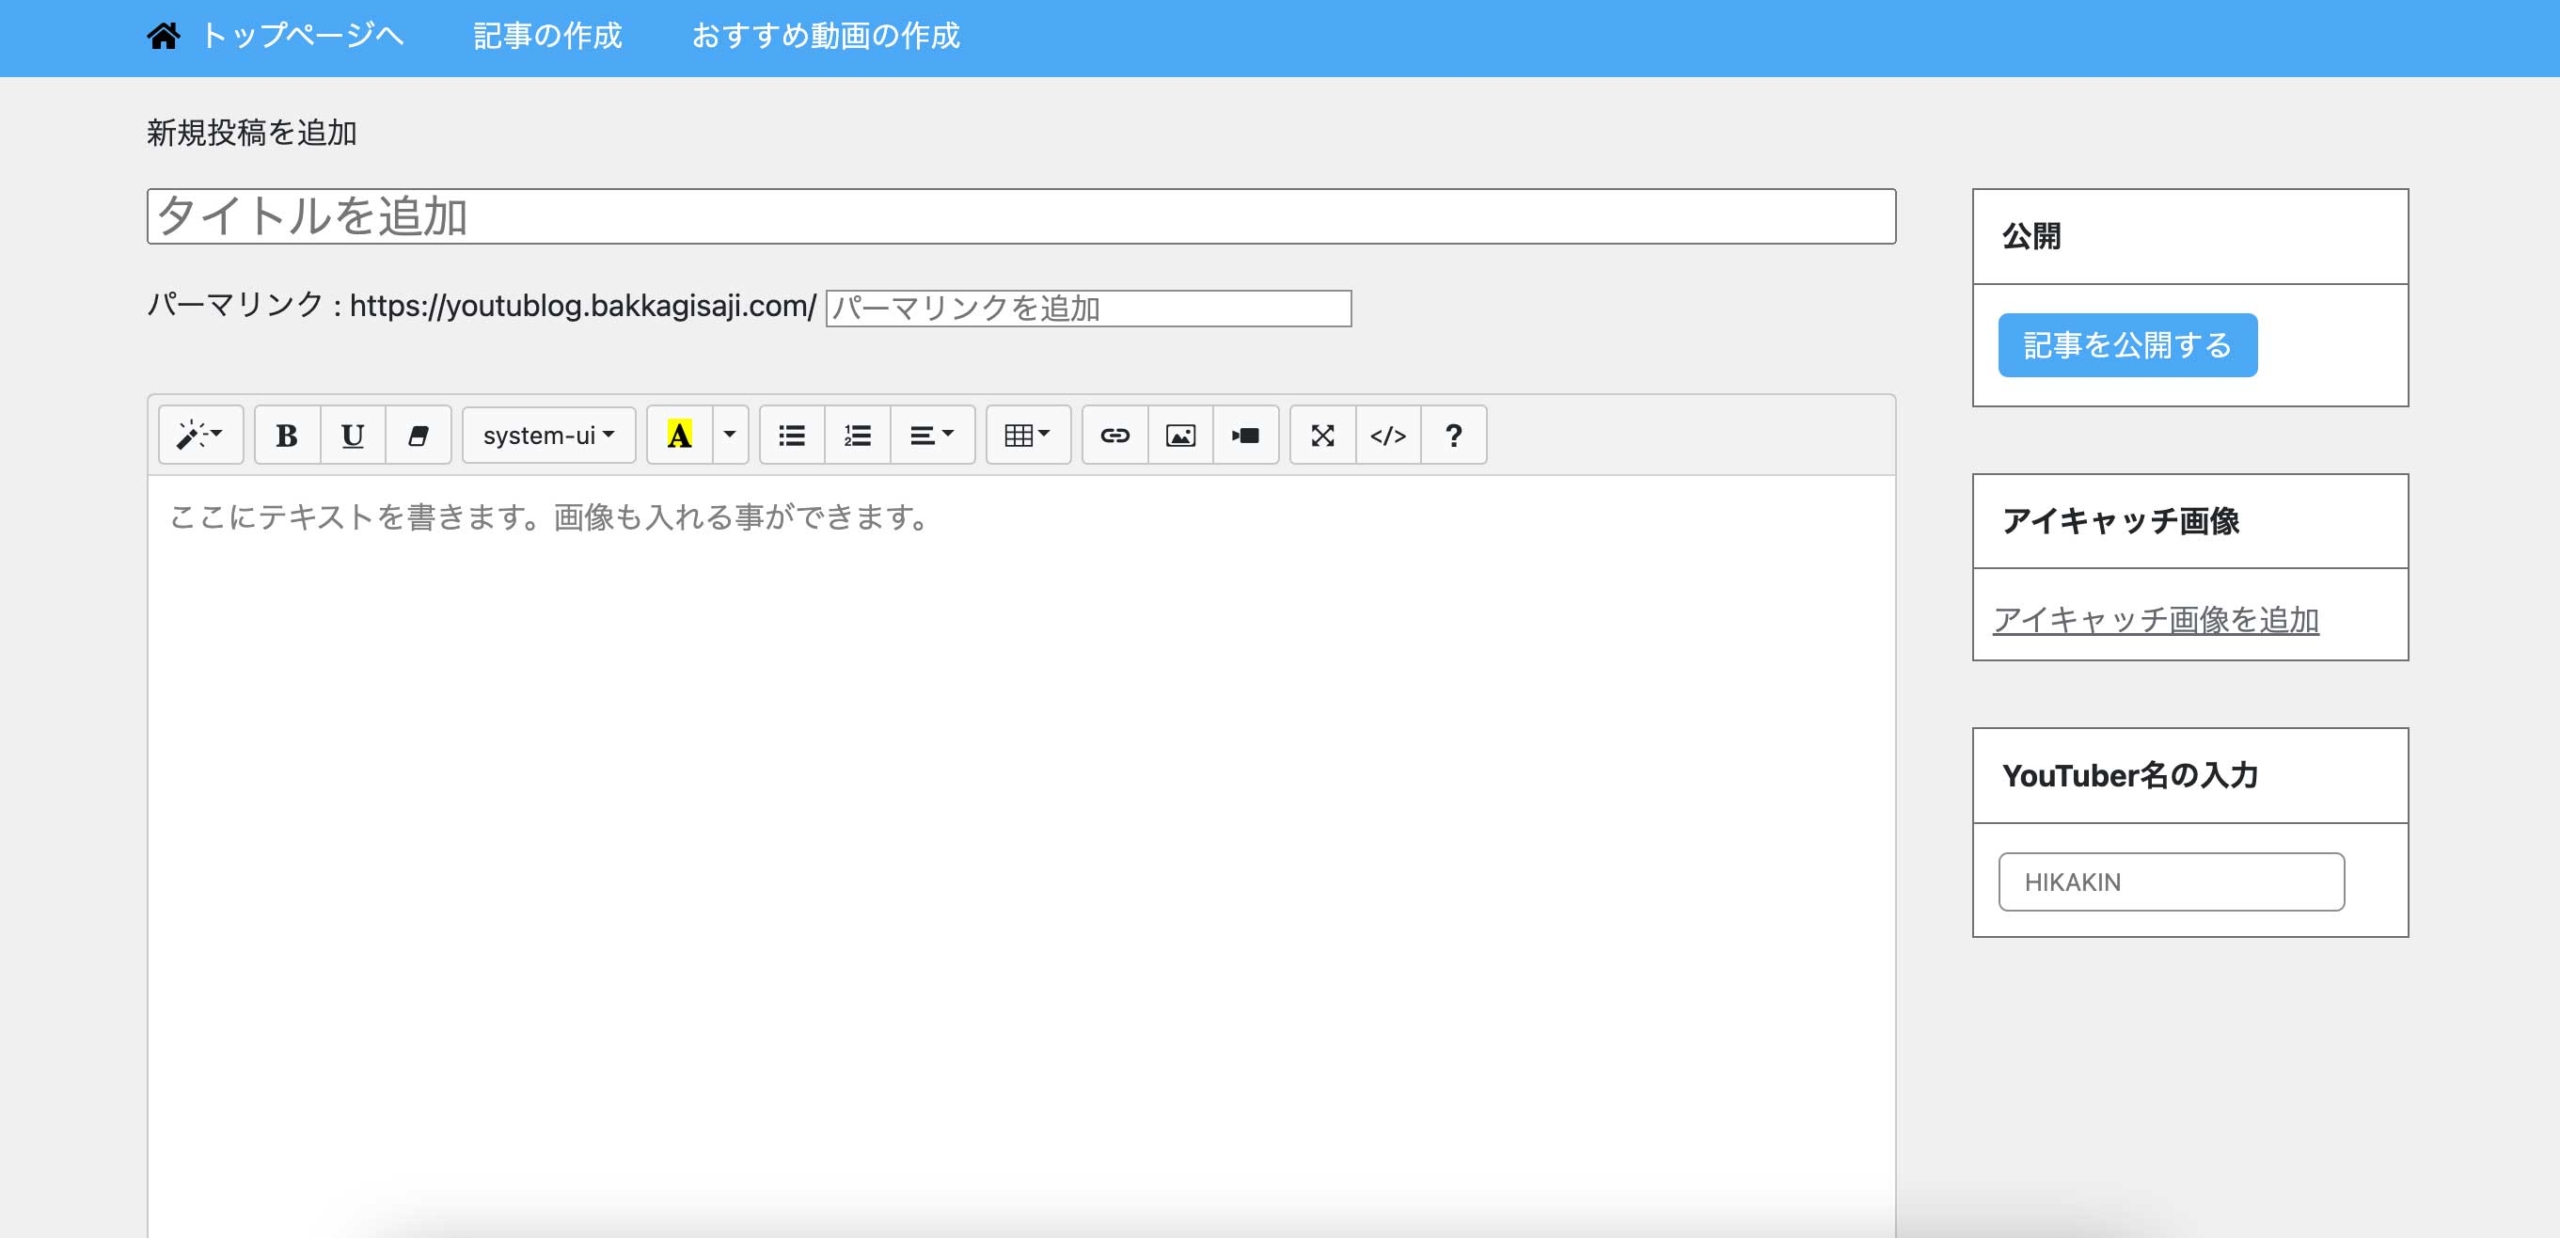 入力内容を入力して「記事を公開する」をクリックすると入力した内容がデータベースに保存されます。
Vueにデータベースの情報を渡す
それではVueにデータベースの情報を渡します。
api.php
ルーティングの設定をする時はweb.phpでしたがaxiosを使う時はapi.phpを使います。
web.phpと同じ階層にあります。
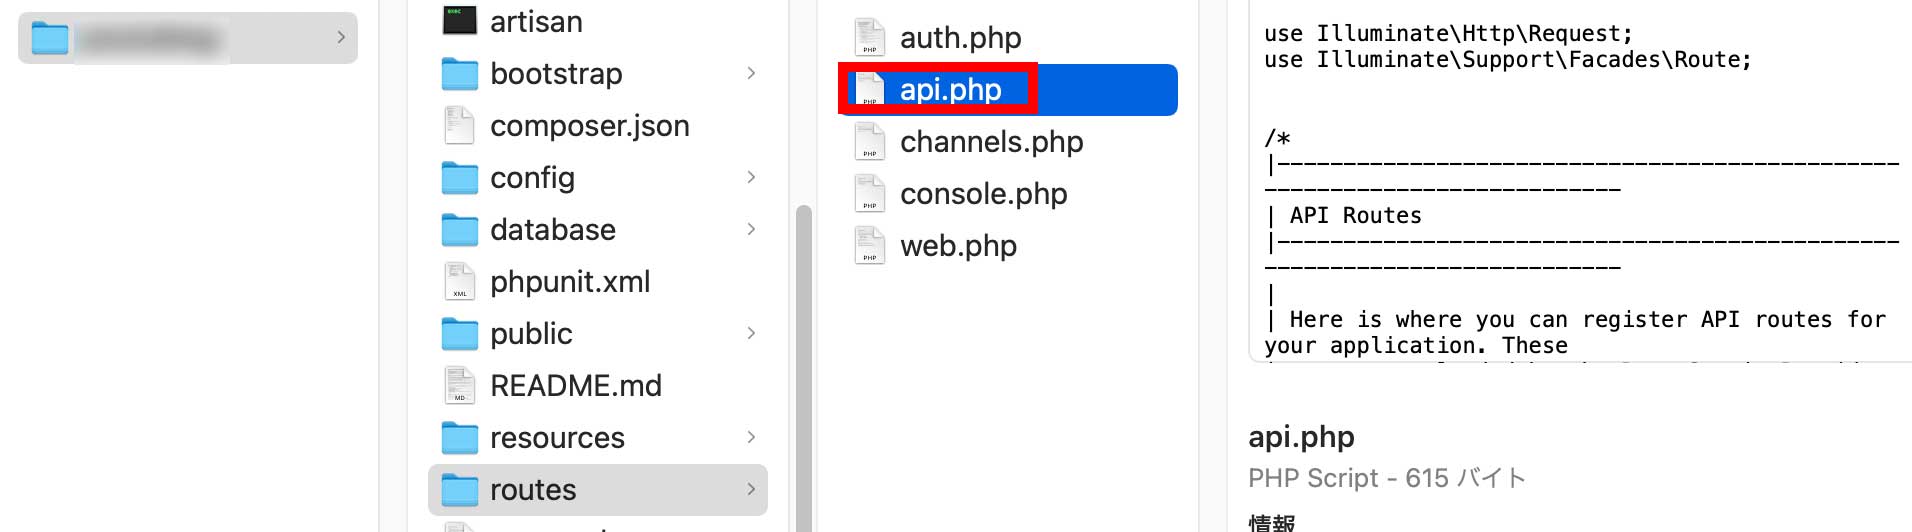
api.phpのコードを↓にします。
次は コントローラーです。
コントローラー
apiを使う時のコントローラーを作成しますがコマンドが「php artisan make:controller コントローラー名 –api」です。
今回はPostControllerを作成するので↓のコマンドを叩きます。
api用のコントローラーも通常のコントローラーと同じ階層に作成されます。
リソースコントローラーの時と同じ様にルートが勝手に設定されますので「php artisan route:list」で確認して下さい。
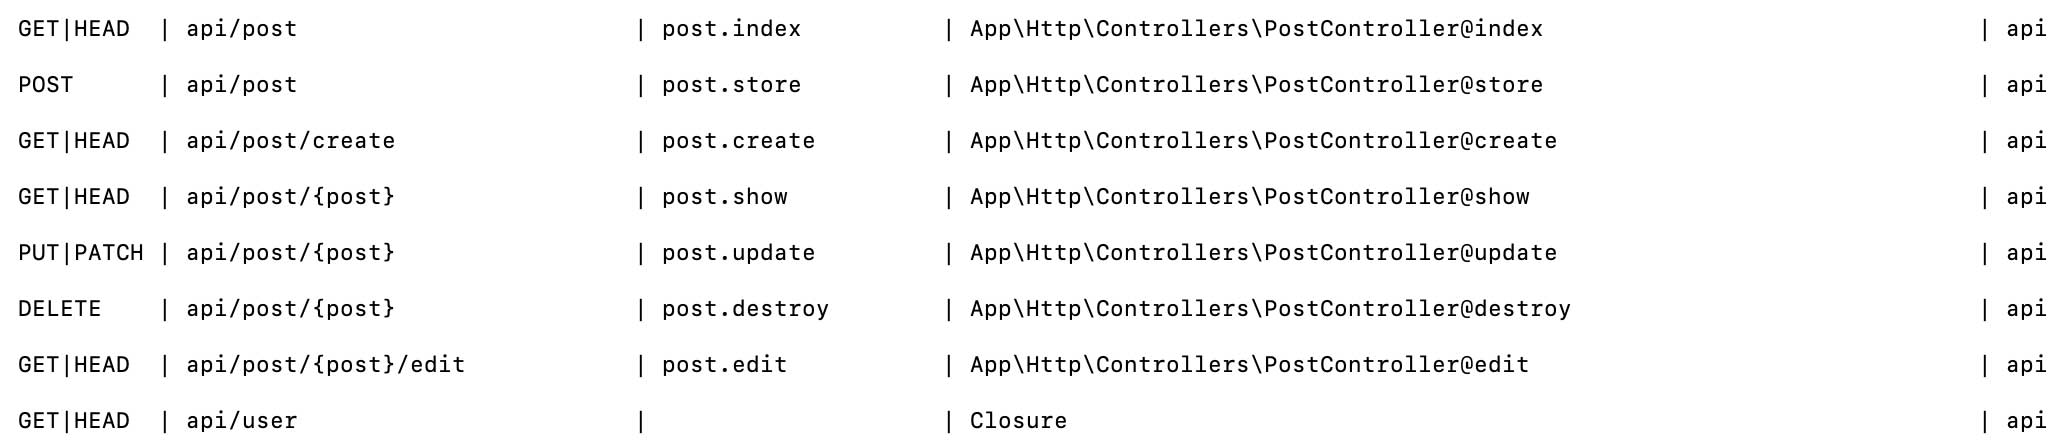
PostController.phpに↓の記述をします。
これでデータベースの情報をVueに渡す事ができる様になったので次はVueですがIndex.vueを使います。
Index.vue
Index.vueのコードを↓にします。
8行目のrefに関してざっくりとした説明をします。
例えばJavaScriptで↓のコードを考えます。
displayが何になっているかをデベロッパーツールで確認すると「ccccc」と表示されます。
Vue3の場合はこれをする為に8行目の「ref([ ]);」のref( )が必要になります。
カッコの中は最初の値を書きます(JavaScriptの例のaaaaa)が[ ]になるのはLaravelからVueに渡された情報が配列になるからです。
配列になっているのを確認する為に10行目の「console.log(posts);」があります。
デベロッパーツールで確認します。
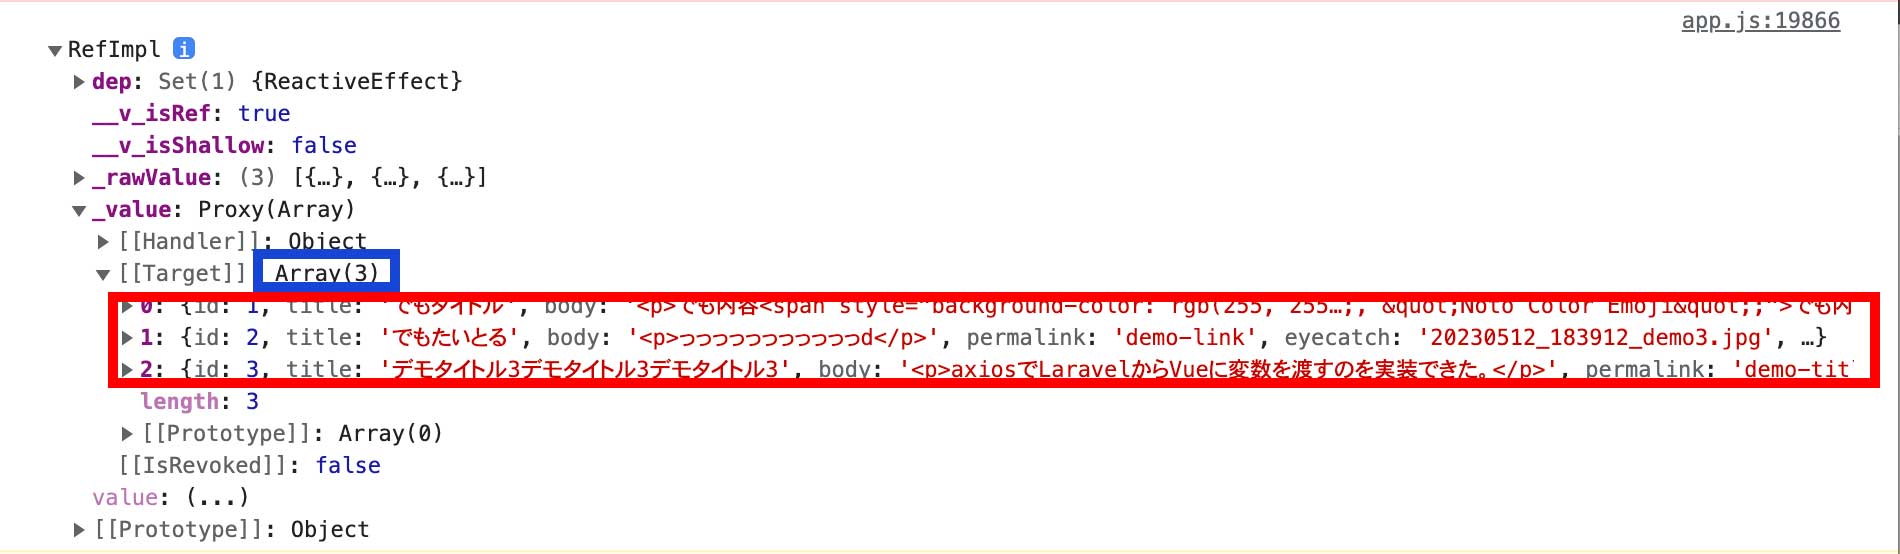
この配列の内容を表示する為に22行目〜25行目のv-forディレクティブがあり、「{{post.title}}」でデータベースに存在するtitleカラムの内容が表示されます。
v-forディレクティブを知らない方は↓を読んで下さい。

これで完成です。